

Deconstructing Paradigms: Do Vegetable Starts Really Need Special "Seed Starting" Soil? Part 1
Deconstructing Paradigms: Do Vegetable Starts Really Need Special "Seed Starting" Soil? Part 1
Buying inputs suck. Especially those that come in plastic. Can we do without?

Cliff notes: I don’t know the answer to this question. It worked well for one trial on peas using pure garden compost. I will be doing further experimenting. I suspect we can at least reduce the amount of inputs we use. Read on for more info.
If I didn’t have massive slug pressure in my garden, I’d be doing as much direct-seeding outside wherever possible because I like to grow food with the least amount of work possible. But since slugs LOVE seedlings that are just beginning their life cycle, I’ve found that it is best to start many of the things that I want to eat indoors and transplant out as bigger plants. This is so they get past their most susceptible stage. If you want more tips on slug control, see this post.
But you can’t just start seeds in any old soil. Well, to be clear, you can but you will struggle to get your seeds to come up. I don’t recall how I learned this fact - perhaps from watching my own mother grow tomato starts in our basement. The soil has to hold sufficient water and air at the same time. Which is why the invention of special seed-starting mixes.
When I first started gardening, I used a commercial seed-starting mix that cost an arm and a leg and came in plastic bags. Then I read Steve Solomon’s book, who encouraged me to mix my own.
Since that time, my seed-mix has become kind of loosey-goosey, sort of based on Steve Solomon’s advice and Lee Reich’s advice. One part peat moss, one part vermiculite or perlite, one part compost. Ish. It doesn’t seem to matter if you are somewhat imprecise.
The function of the peat moss seems important. It is acidic, so it hinders damping off pathogens. It expands to hold so much water that it is too much, which necessitates the need for the part that aerates the soil: vermiculite or perlite. The function of compost isn’t totally clear to me beyond adding organic matter - it’s something that I don’t have to buy so I just do it without question.
The problem with this traditional approach: harvesting non-renewable peat moss releases a ton of greenhouse gasses. Vermiculite and perlite can be dangerous for your lungs, and from what I hear they aren’t sustainable either.
And… they all come in plastic. Why do I keep bringing up plastic? Well, check out this documentary by PBS. And if you think doing a better job at recycling is the answer, think again and again.
Coconut coir is a possible substitute. But I’ve heard - from someone that sells coconut coir - that in order to make coconut coir, the trees are deforested without replanting. And if the rumor mill is true, child labor is also an issue. Yuck.
Then there is Pitt Moss, which I recently purchased from my local ag supply Concentrates. It was $40 for a big bag and of course it comes in plastic. The expense and plastic have me questioning if I can do this whole thing better, but at least I have something for now.
My journey to find out begins…
My family loves sugar snap peas, which I start in mid-January and set out a few weeks later directly into the garden. No need for any of that hardening off nonsense.
After I set out all of the seeds I’d needed this year, I found myself with a small handful of sugar snap pea seeds that are four years old. Since they start to become less viable with time, I thought maybe I could use these to answer some of my burning questions about the “needs” for buying those special ingredients.
The first thing I thought I’d try is pure compost. Compost does the two things we want seed starting mixes to do: hold plenty of moisture, while holding air.
I went out into the garden, picked up a few shovelfuls of compost, and spread it out about an inch thick on a screen and left it for a couple of days. This was my “eviction notice” to any worms - since these starts are going indoors. (In the future, I think I’ll do the eviction in summer, so that the compost can dry out sufficiently and then store it in a container. )
After I peeked through the soil to make sure there wasn’t a bunch of creepy crawlies, I planted 28 peas into this pot. A few days later, many of them came up. Here’s what the starts look like now:
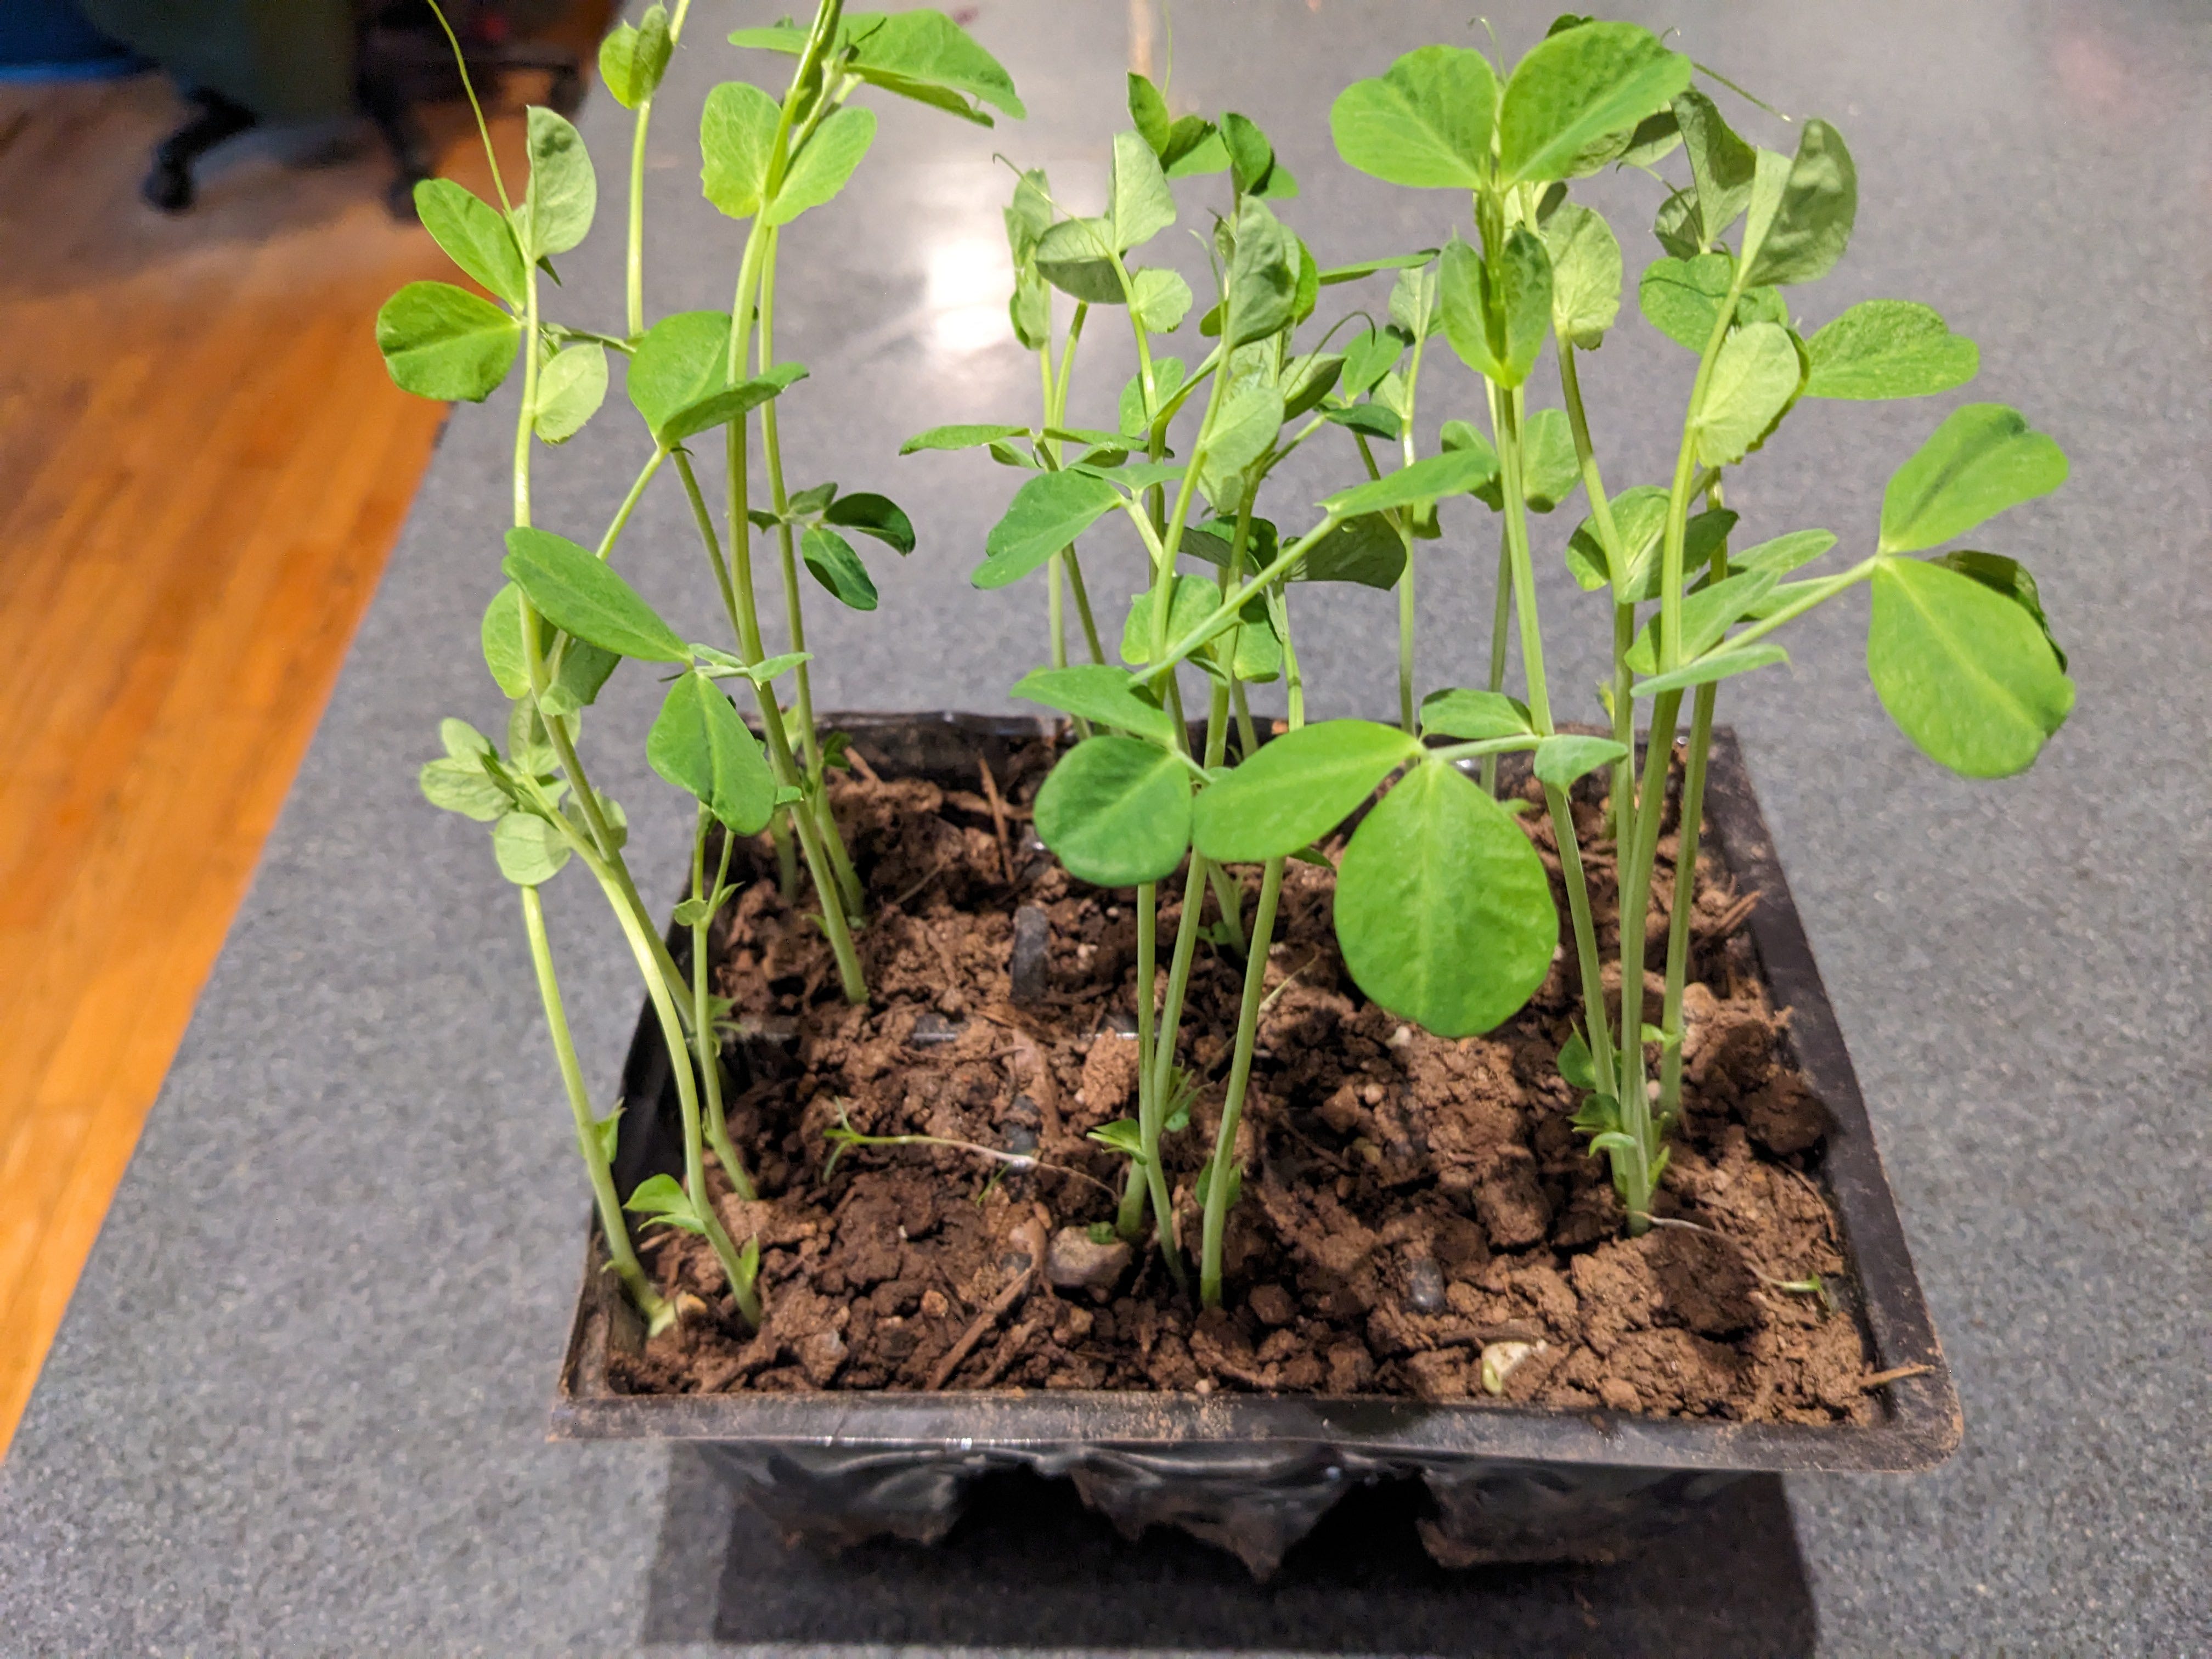
They grew beautifully. 22/28 sprouted vigorously, and a few more came up weakly. I don’t know if they came up weakly because they are old seed, because of the soil, or if that is a normal failure rate anyway. (I haven’t compared). Either way, pea seeds are really easy to grow and I am okay with sacrificing some seeds when so many of them come up otherwise.
I did notice that the soil dried out quite a bit on the top, and seemed wetter on the bottom. When I do this experiment in the future, I totally expect to have some damping off and germination failures, but I’m convinced I can come up with methods that at least reduce the use of plastic-container inputs.
It’s possible that legumes will respond differently than many other types of seeds. But since I do start my legumes indoors and doing so uses quite a bit of “seed-starting” mix, I’m happy that it seems I’ll be able to reduce inputs for at least those seeds. And of course, I do plan on testing this experiment repeatedly prior to relying solely on garden compost for my pea plantings.
I’ll be using my usual methods to ensure I get my crops, then when I have extra seed and time trying only compost, or mix of more compost to the inputs. Maybe it will work for only legumes, but not at all for brassicas or other seeds. Stay tuned, I’ll share the results with you as I learn.
A side note: One thing I can tell you for sure about starting seeds indoors is that it matters how wet the soil mix is. It’s actually better to be a bit too dry than too wet. With whatever you are using, you want the soil so that when you squeeze it in your fist no drops of water come out. I’ve had massive failures with seeds just not coming up in wet soil, followed by trying again with soil that is on the dryer side with excellent results.
What do you think? Have you ever experimented with your seed-starting mix?
Donations: the information that is provided here is free for gardeners of all financial means. If you’d like to financially support this site, you can make a one-time donation or monthly subscriptions on this link. All proceeds will fund more garden projects to share here with you, dear readers!