


Epic Caramelized Tomato Sauce For the Fridge or Freezer (EASY)
This sauce takes about an hour to make, largely unattended, using as little dishes/cleanup as possible.

A friend of mine posted recently that she followed a traditional canning recipe for making a canned tomato sauce, and it took her six hours to make eight pints of tomato sauce. I’m sure the flavor was excellent, but eek. Who has that kind of time?
I’ve been there. I’ve done the traditional canning of tomato sauce with scalding and peeling and ice-bathing… and was exhausted after the huge mess that was made.
I thought I’d take a sec to show you how my process has evolved over the years to just a fraction of that time.
Time saver 1: While I do still occasionally can tomato products to have a diverse supply of preserved food, I rarely can tomatoes any longer. This is because they are just as good coming out of the freezer as they are going into a can. And, you have to be really specific about making sure you’ve got the right acidity to be canned safely. With freezing, I can make my sauce to taste the way I like it and not worry about whether I’ll end up with botulism from not having enough acidity.
Time saver 2: I don’t peel my tomatoes. Once I started not peeling my tomatoes, I haven’t gone back. I’m not sure why the practice even started. Seems like such a waste of time, effort, nutrition to throw the peels out for the purpose of making sauce.
Time saver 3: I use an immersion blender to blend the sauce, in lieu of a food processor or blender. Immersion blenders are a fraction of the clean up.
Caramelized Tomato Sauce
This recipe/method is adapted from the book Garlic, Garlic, Garlic. I found it necessary to make a few changes, depending on the type of tomato you’re using.
You’ll need:
Tomatoes cut in half - enough for a full sheet-pan that fits comfortably in your oven
Olive Oil
Onion (I prefer white for this sauce)
Garlic to taste
Salt
Herbs, or other seasonings, to your taste
Preheat the oven to 400 degrees, unless you’re not using a paste/sauce/plum tomato. If you’re using a slicing tomato, you’ll want to crank the heat up to 450, so that some of the water dehydrates and your sauce will be thicker . You can see in this photo that I’ve used a few slicing tomatoes while the most are plum - a San Marzano type.
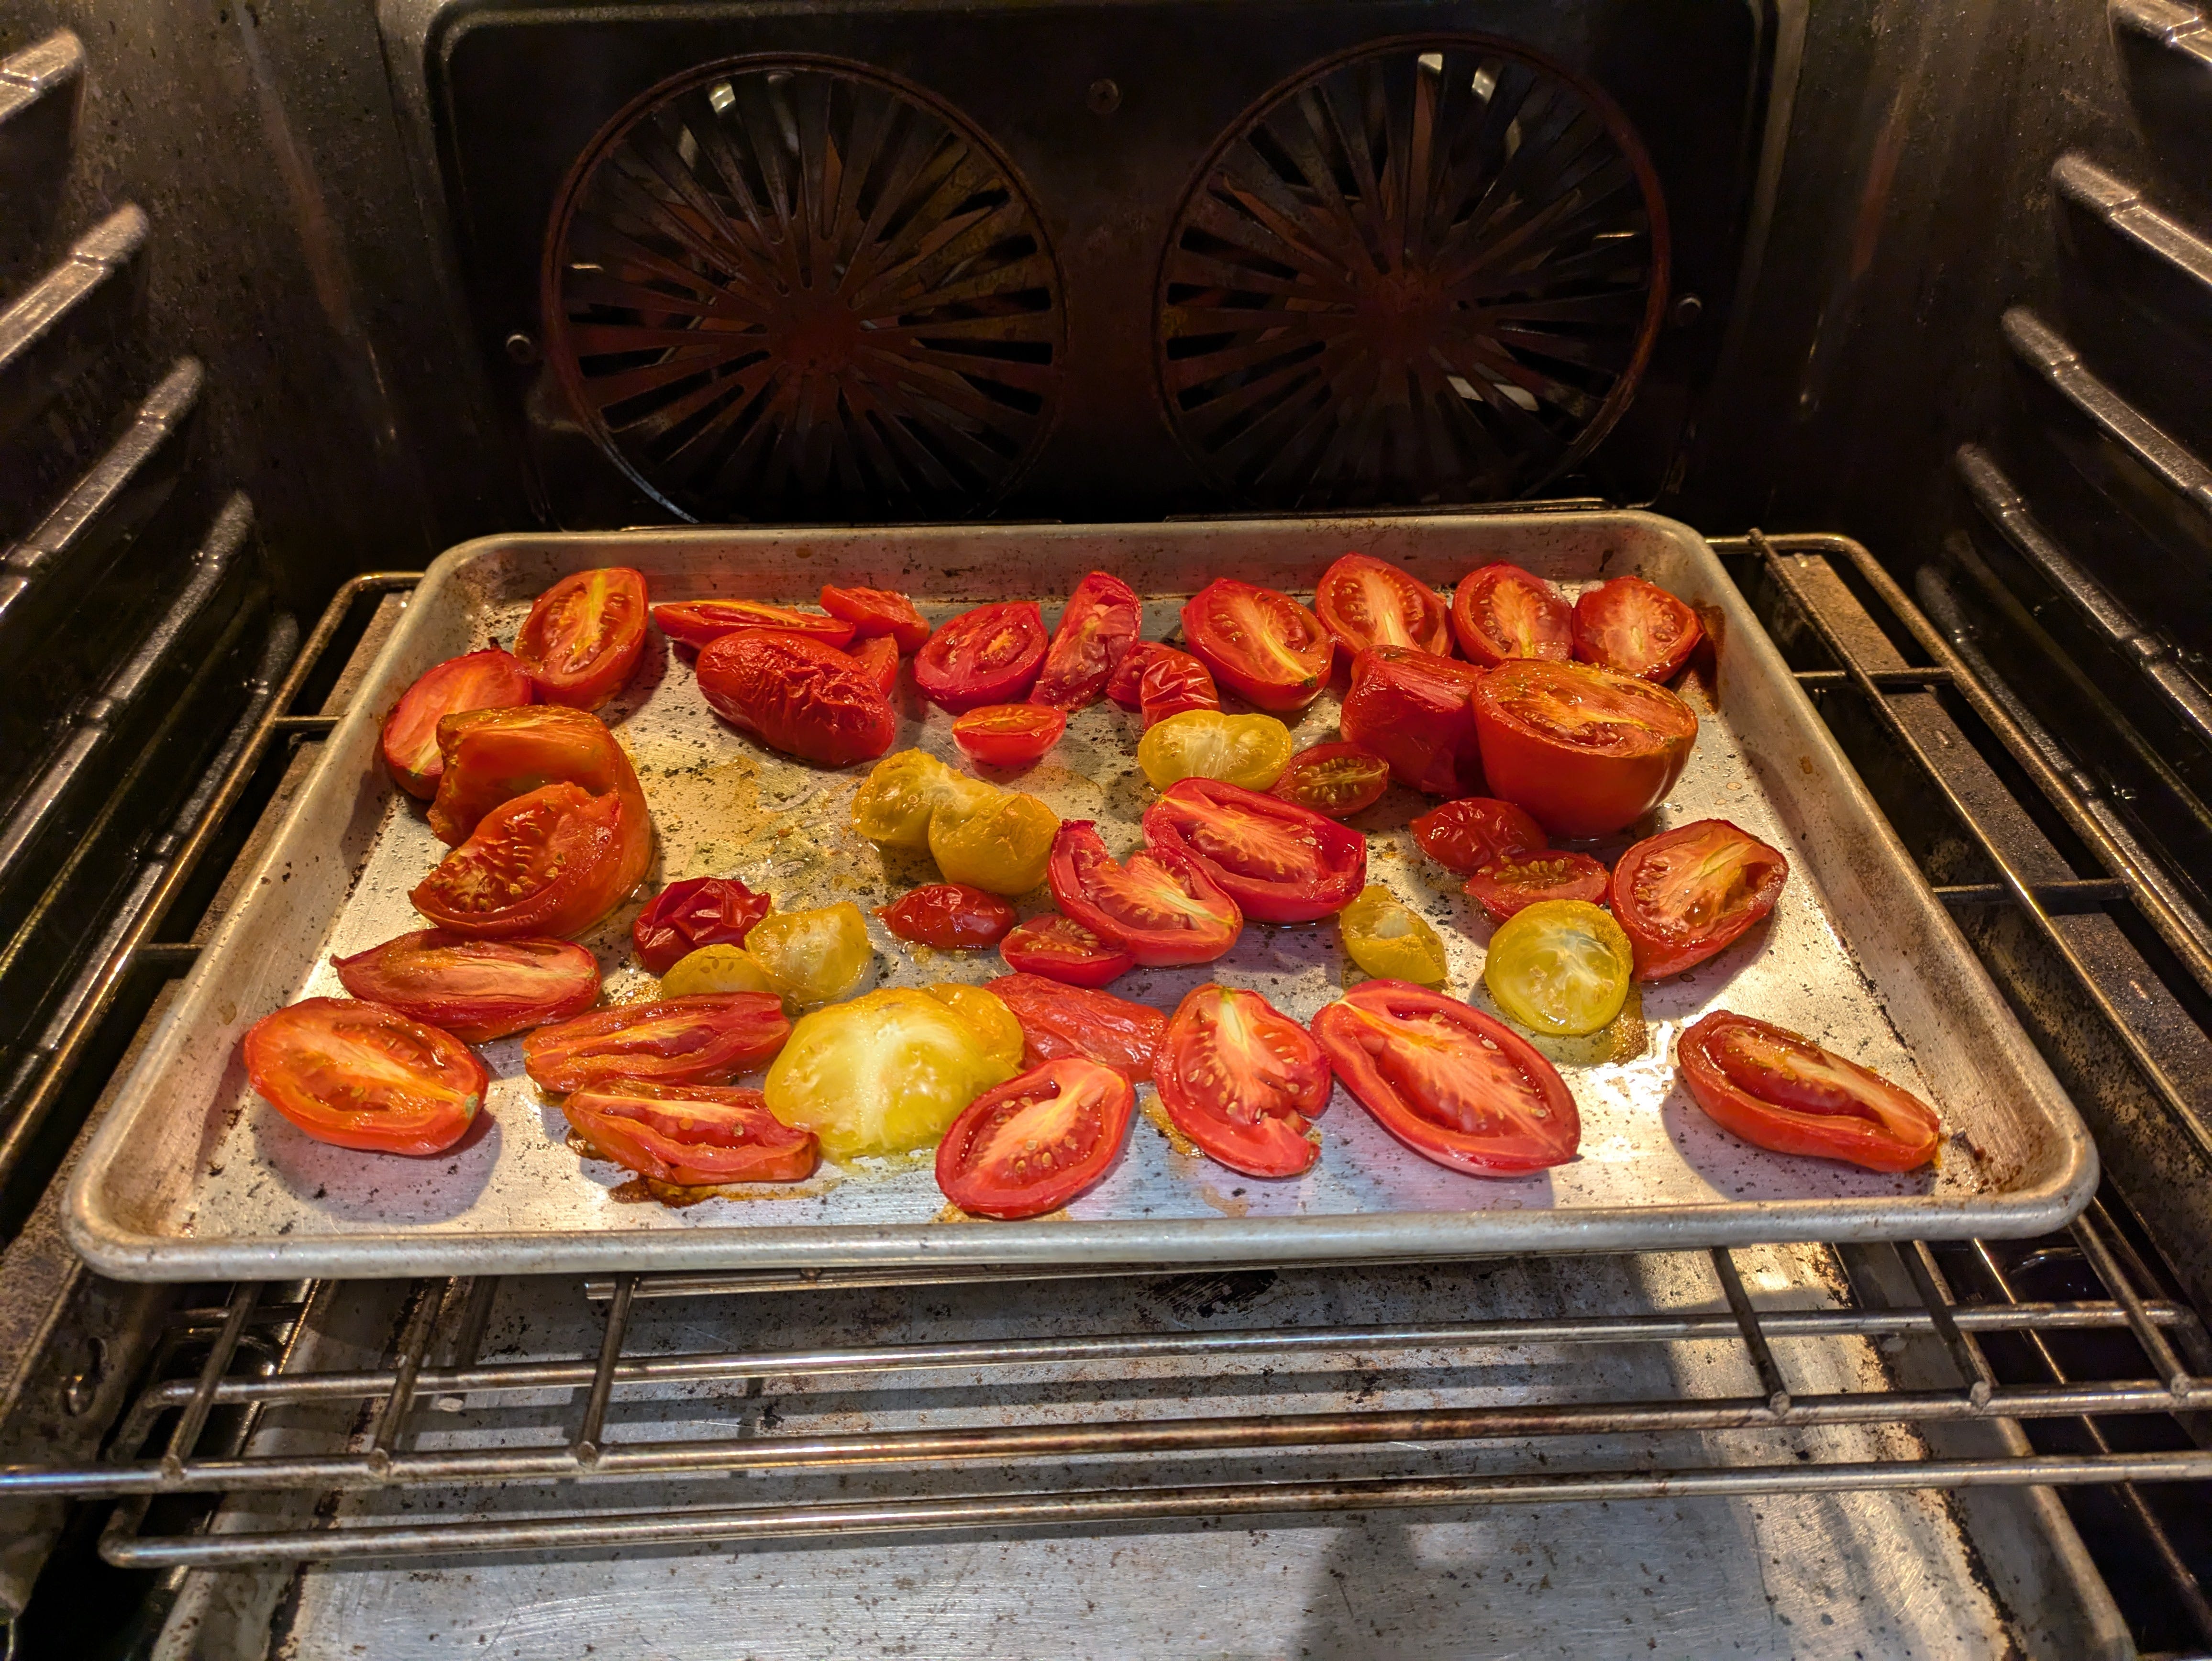
Cut enough tomatoes in half that will comfortably fit on a sheetpan inside your oven. Drizzle with a touch of olive oil. Roast until they are completely soft and starting to caramelize around the edges. It is ok if some of them get black spots on them.
Meanwhile, chop the onion and add it to a Dutch oven or stock pot over medium-low with a couple of tablespoons of olive oil. You’ll want to sweat the onions down for about ten minutes.
After about ten minutes, add chopped garlic. The initial recipe calls for three cloves. I’d stick with that if using the harsh grocery store kind, until you know how much you like. If, like me, you’ve got homegrown garlic and are familiar with its flavor profile feel free to add more. I prefer a whole bulb.
Once both the onion mix and the tomatoes are soft, carefully dump the whole sheetpan full of tomatoes into the onion mixture.
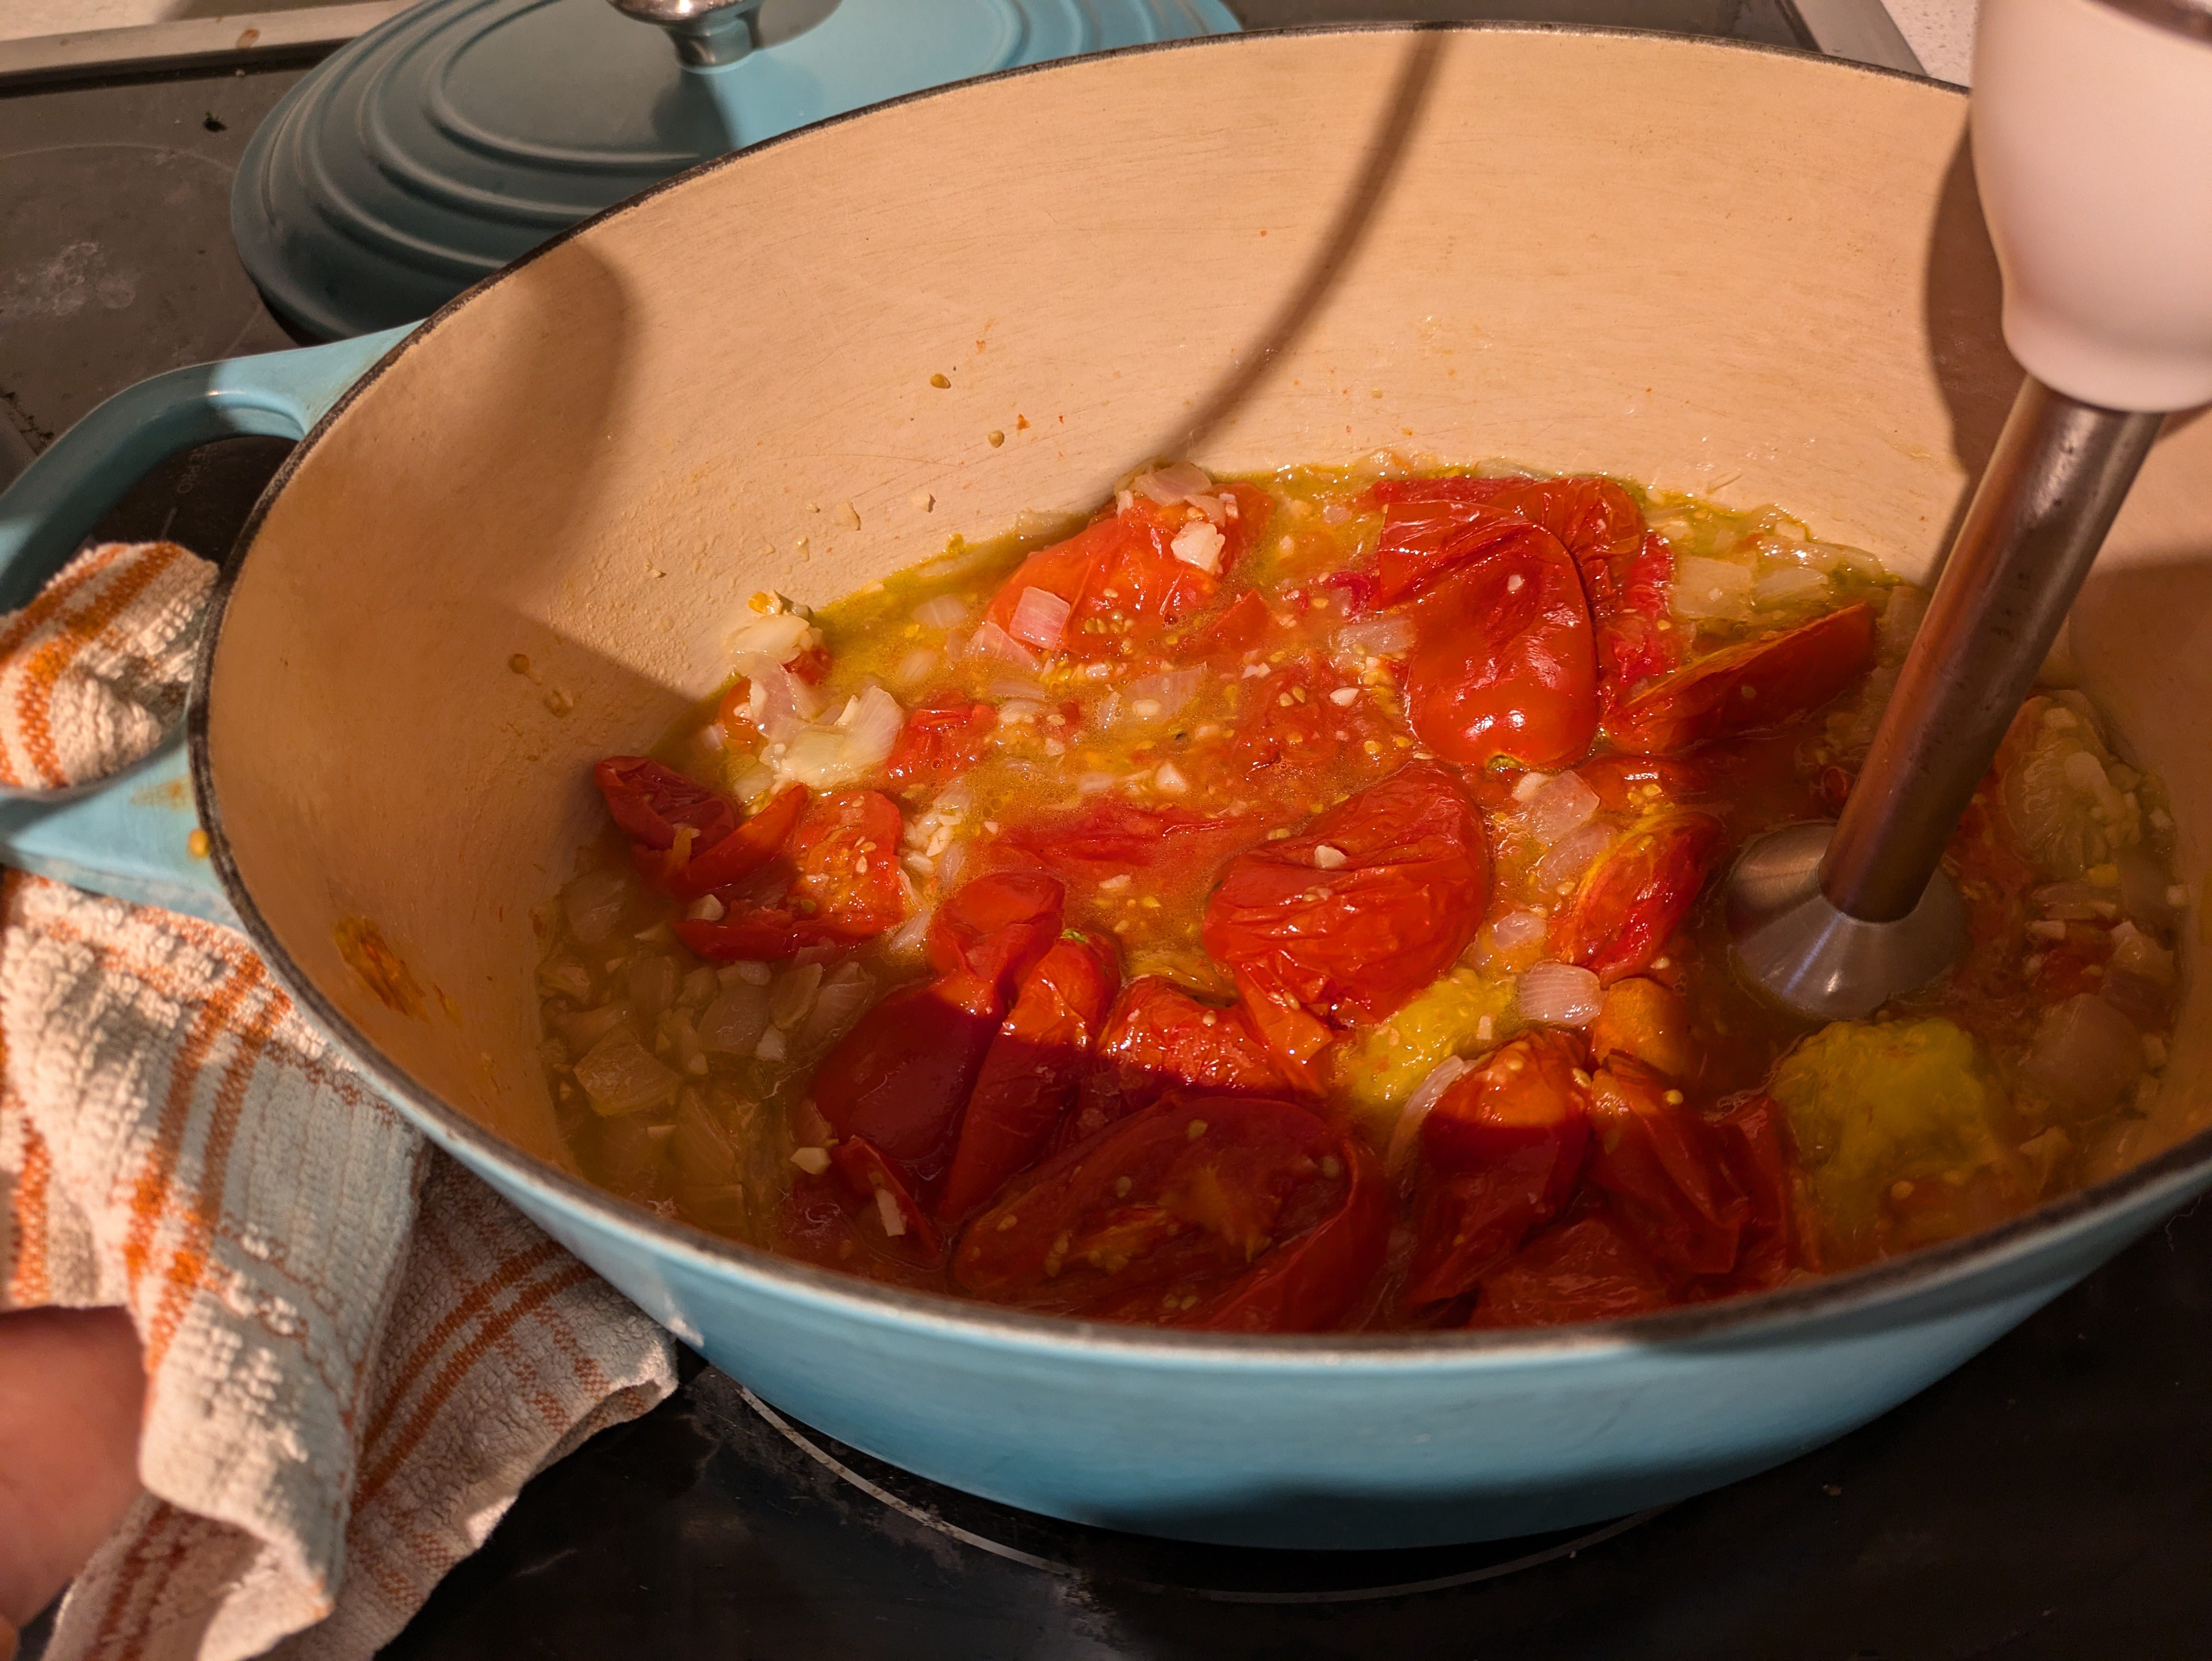
If you have not used an immersion blender before - there is a bit of a learning curve. You need to have the blender head completely submerged into the item you’re trying to blend - or you’ll end up splattering. It is not easy to demonstrate how to do this one-handed. Use a towel to tip the side of the pot up, so that all the product slides to one side, and blend from the side.
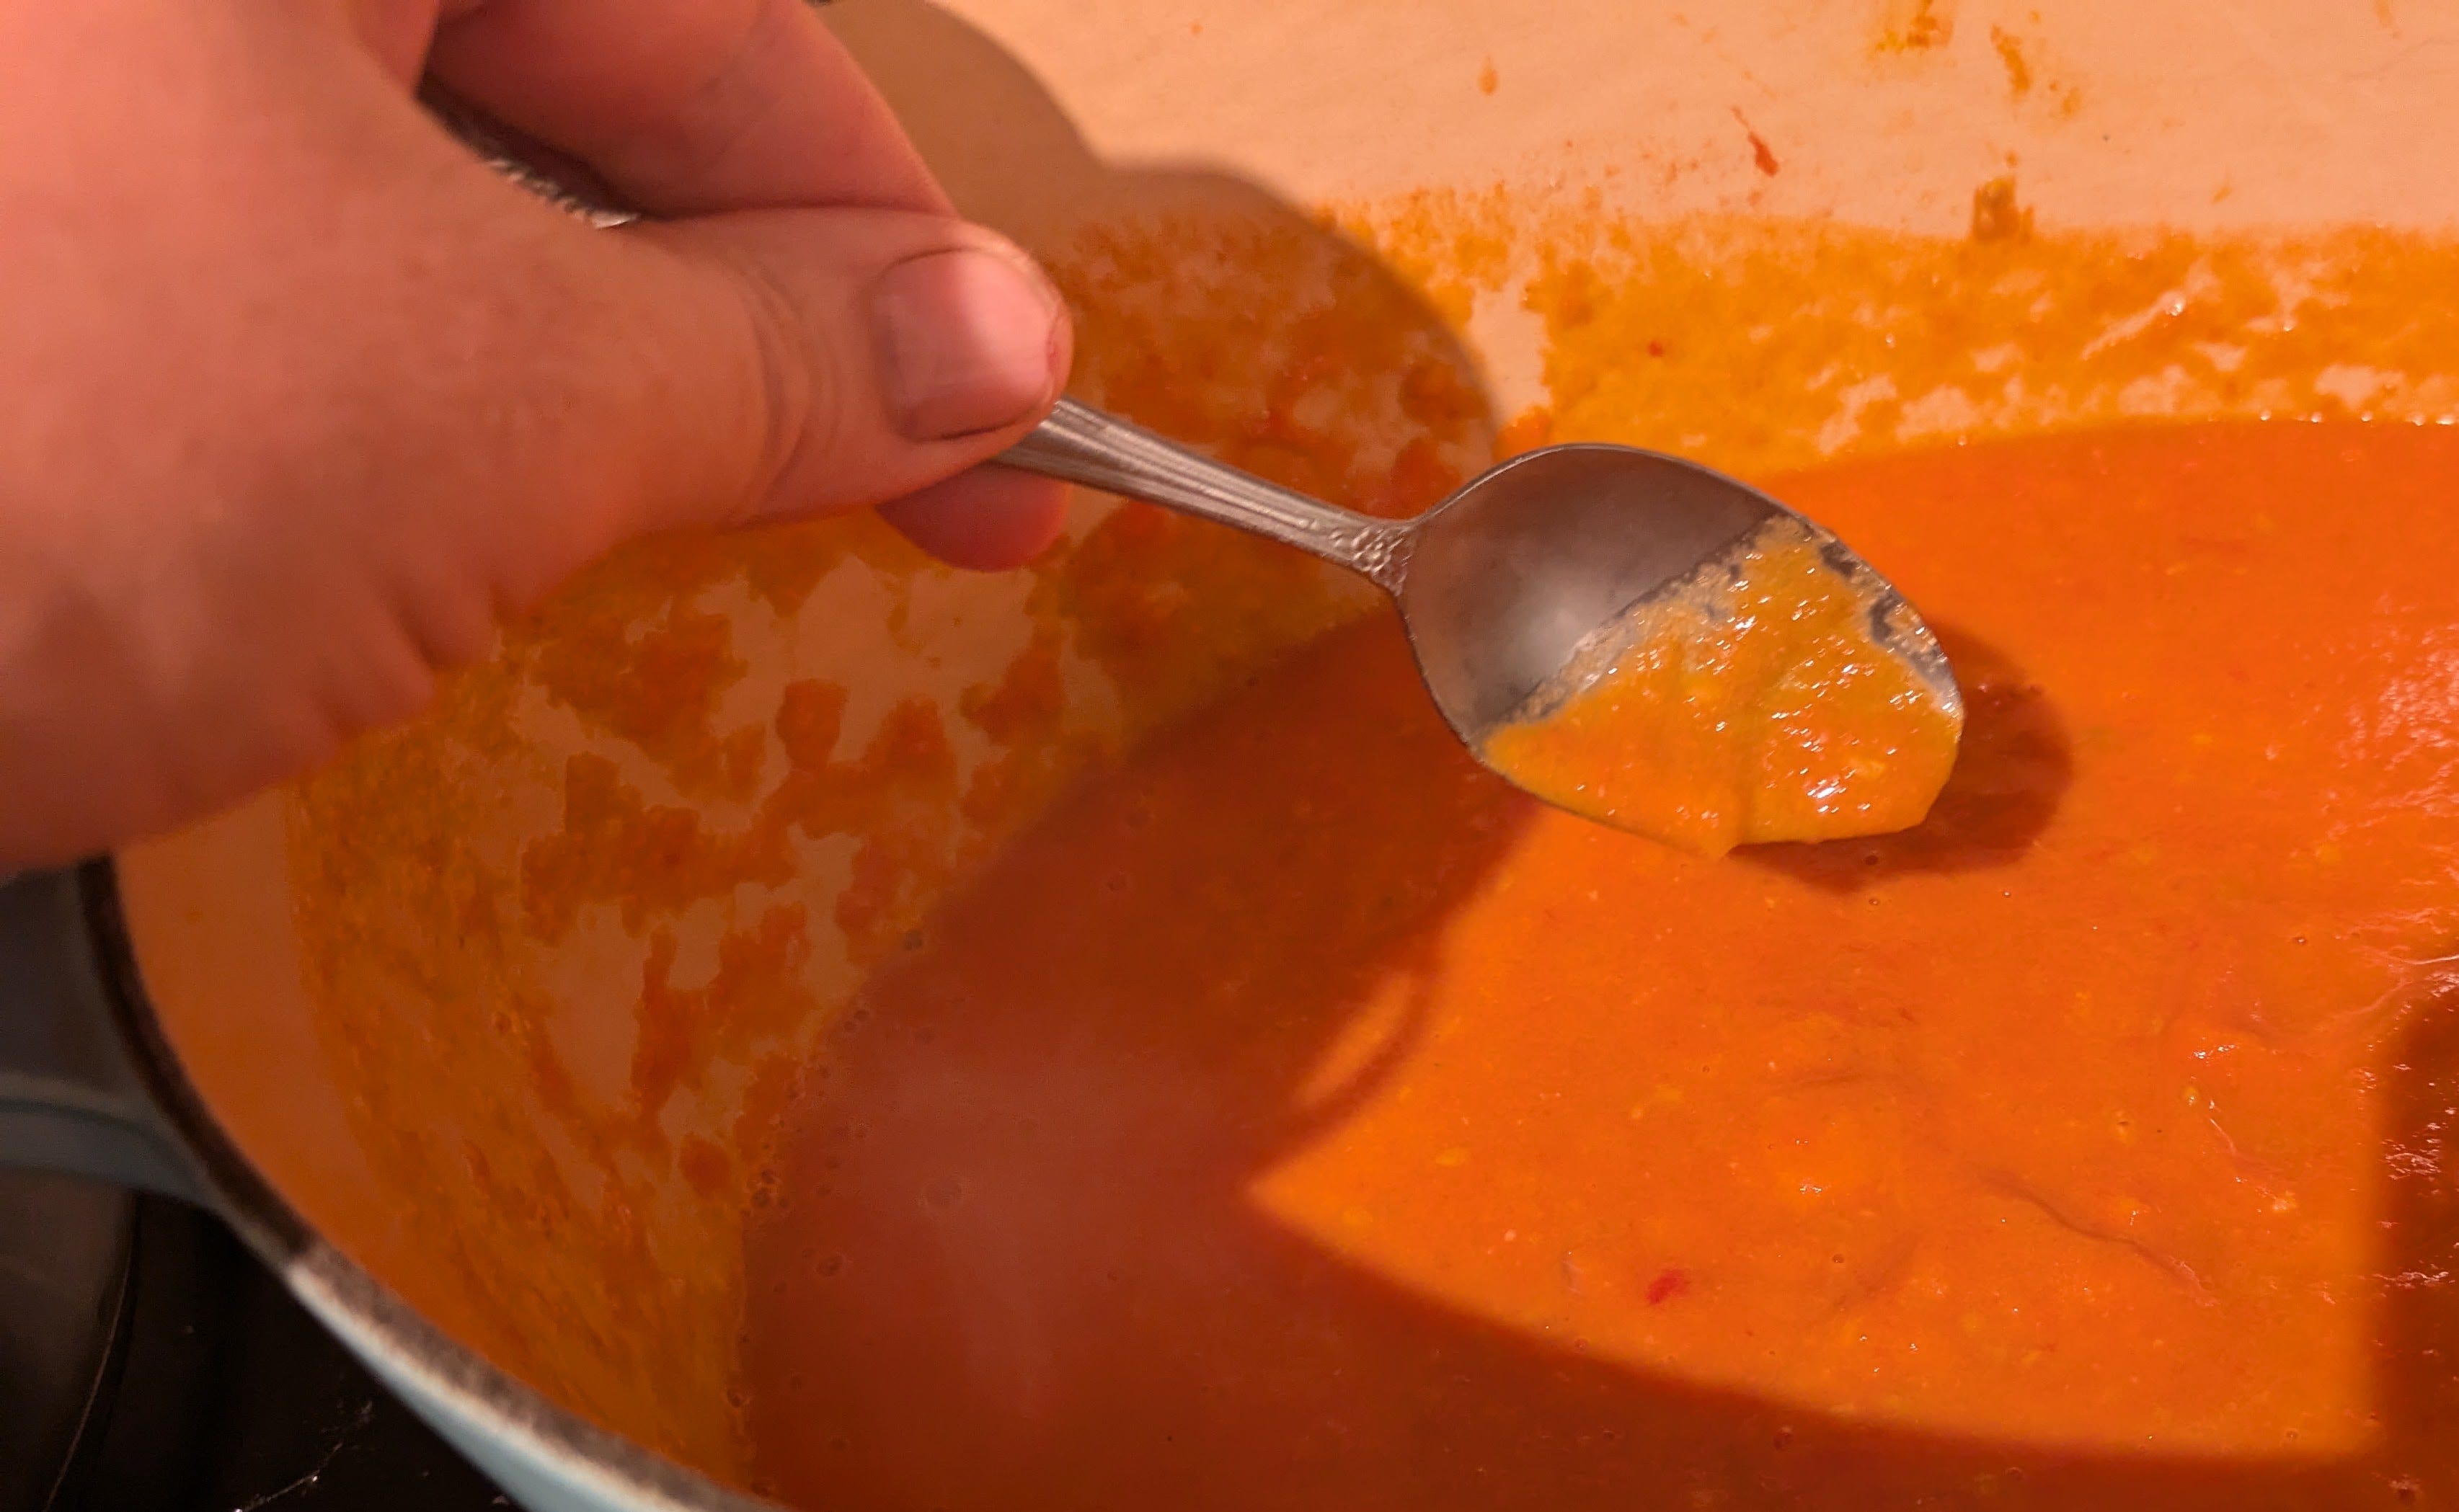
If your sauce isn’t thick the way that you see here, you can leave the pan on the burner to help evaporate out some of the water. If it is really watery, well, you may want to try using paste tomatoes for your next go around.
Once you’ve got the thickness you like, add salt to taste.
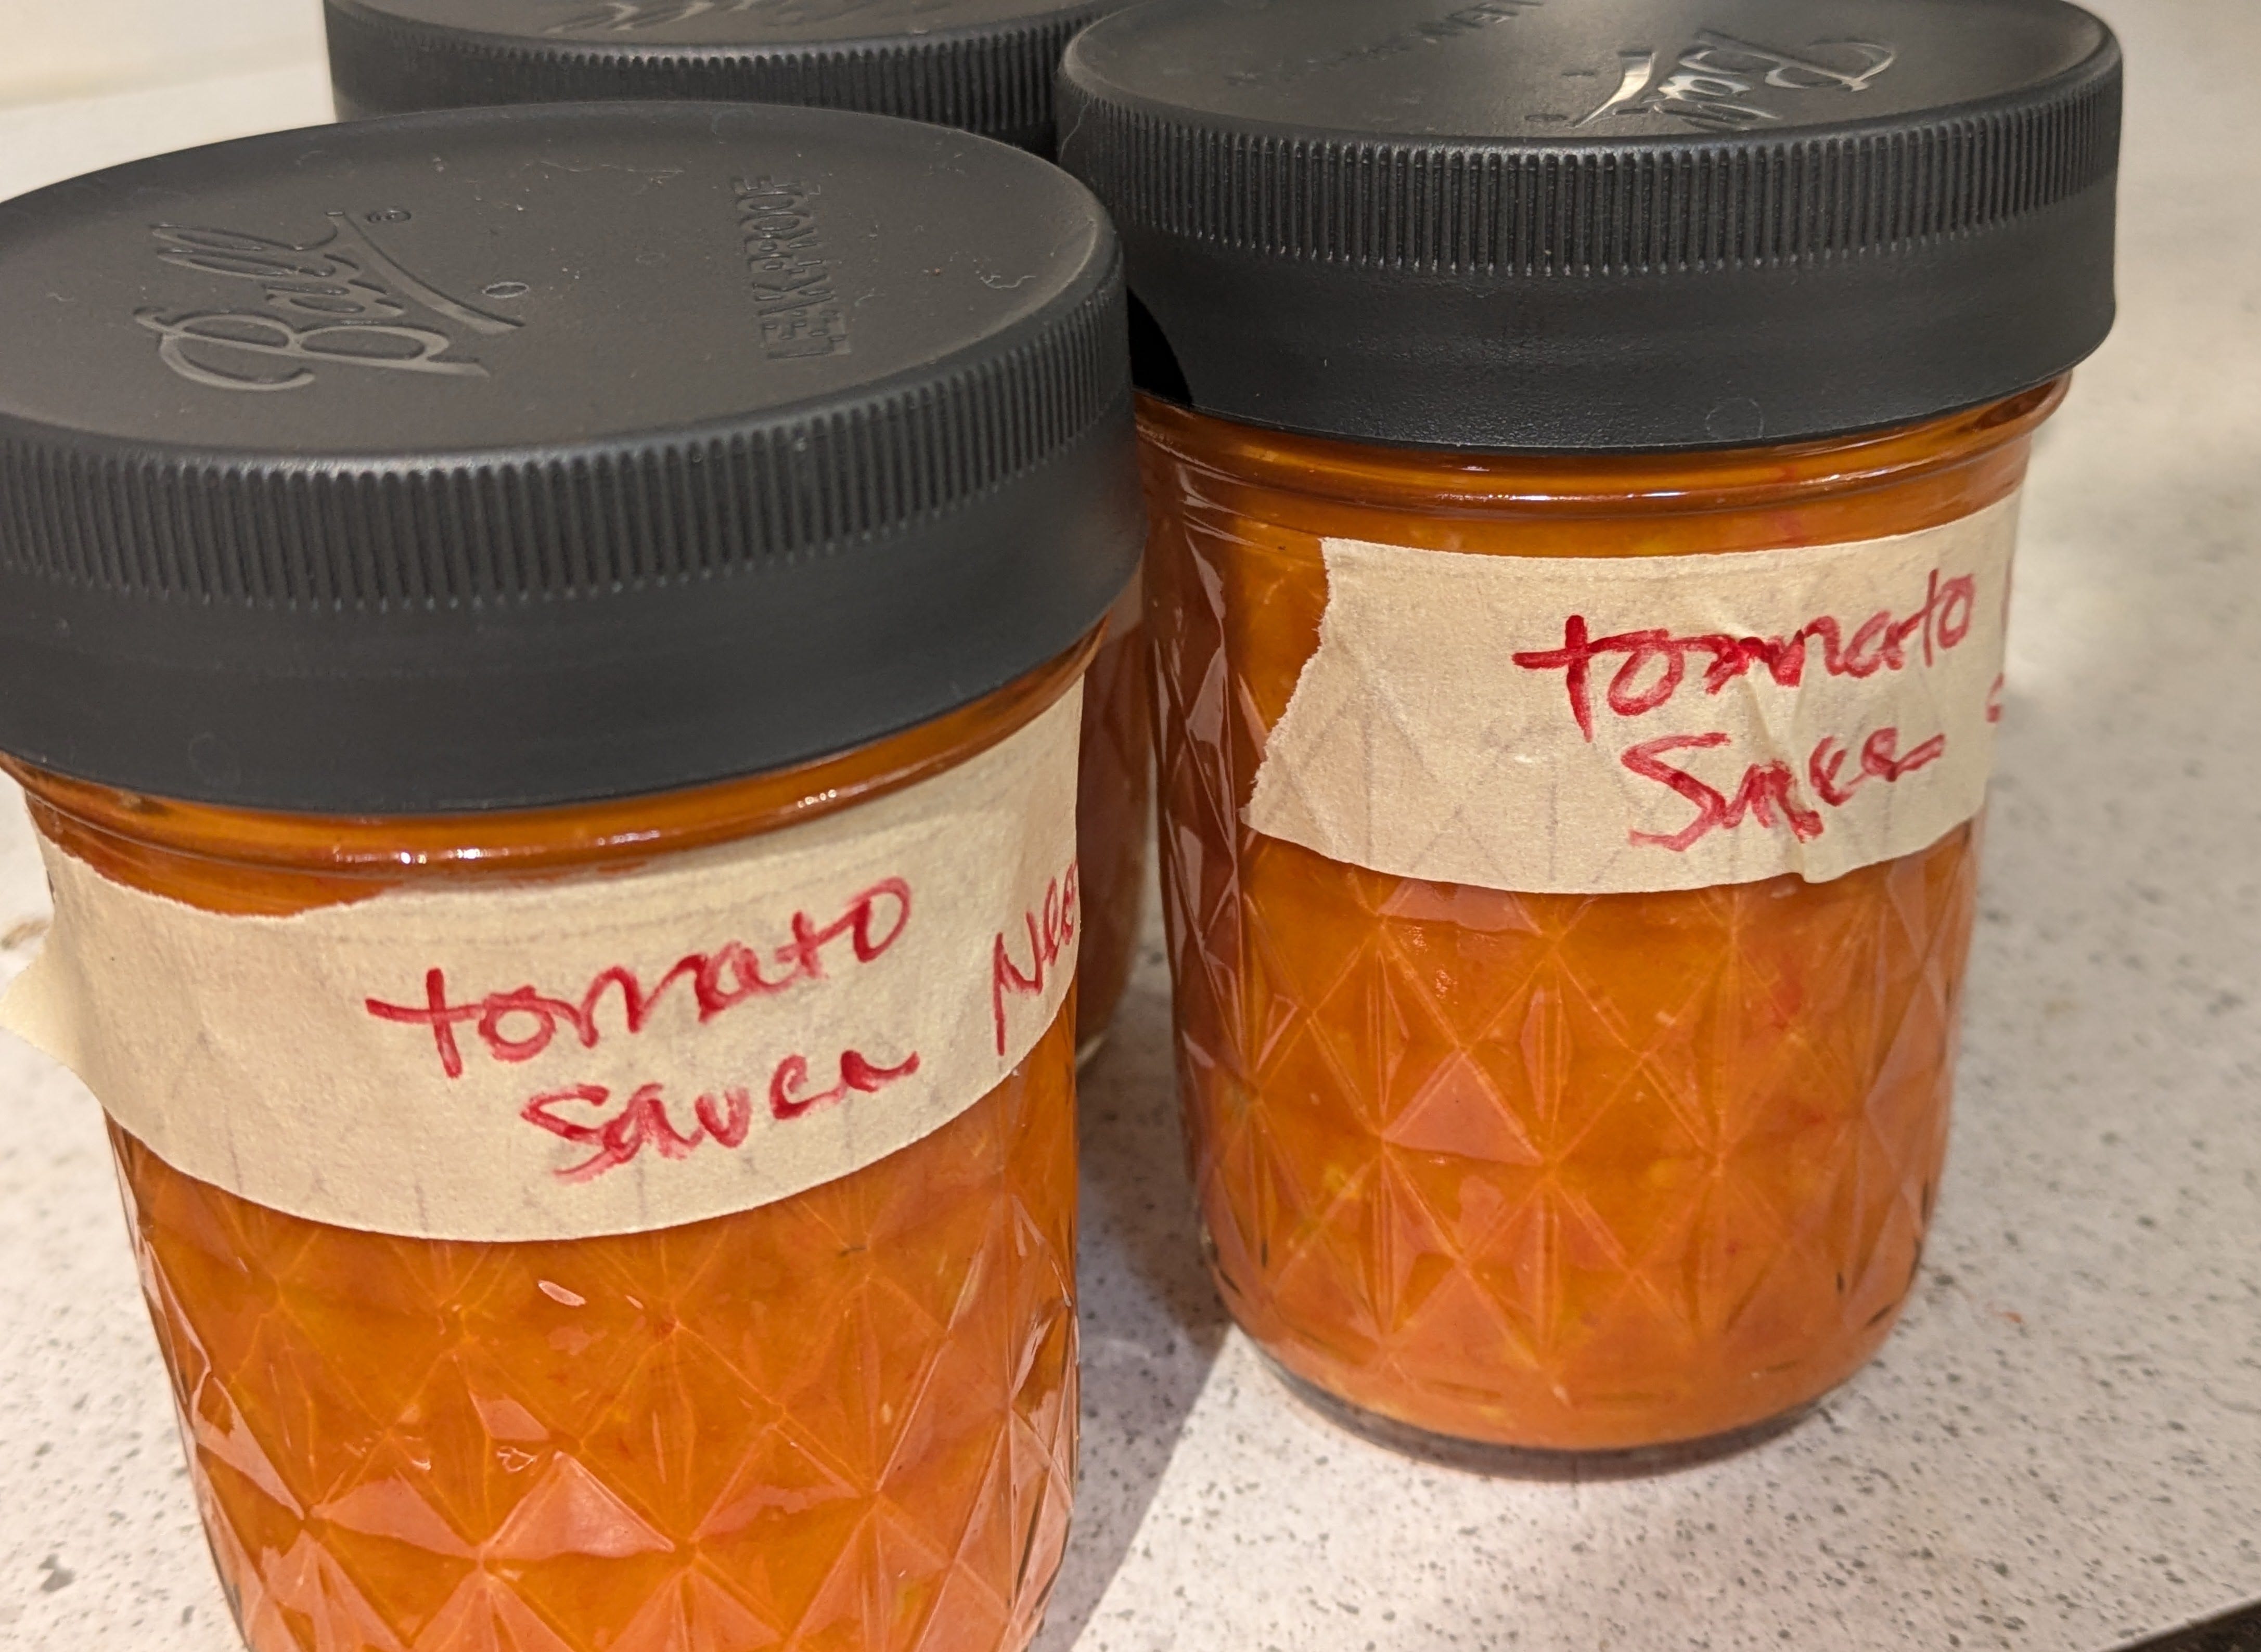
I put my sauce in freezer safe jars (straight-sided glass is safe to freeze) or plastic containers. Lasts quite a few months.
Yummy!! So yummy as a pizza or noodle sauce - but also try it on a sandwich or as a ketchup.
Donations: the information that is provided here is free for gardeners of all financial means. If you’d like to financially support this site, you can make a one-time donation or monthly subscriptions on this link. All proceeds will fund more garden projects to share here with you, dear readers, thank you! And thank you SO much to the folks that have supported me. Your contributions mean so much.
Thanks for sharing this recipe, Amy!
On the question of removing tomato skins, Iowa State Extension provides the following reasons applicable to canning:
“-Most tested recipes for tomato products were prepared and tested with skins removed. Therefore, the processing time is based on a peeled tomato unless stated otherwise. Skins may interfere with the necessary uniform heat penetration in the canning process resulting in under processing and an unsafe product.
-The skins of fruits and vegetables are sources of bacteria, yeasts, and molds. Some of these contaminants are removed when produce is washed with cool water, but removing it all is impossible. The bacterial load is reduced by peeling or slipping the skins, resulting in a safer final product.
-The texture of the skin may be undesirable in the finished product. Tomato skins do not break down well, often leaving chewy bits in the product.
-The flavonols in tomato skin impart a bitter taste.”
https://blogs.extension.iastate.edu/answerline/2023/07/18/peel-tomatoes-before-preserving/
The potential canning safety risks motivate me to peel tomatoes when canning, but I don’t bother when freezing whole or roasted.
I’ve really enjoyed reading your updates this summer. Thank you for sharing!