Freezing Greens the Easier Way
I call this method the "steam-saute". It results in less nutrition loss and plastic waste than traditional methods.
This method works for all manner of cooking greens: collards, kale, spinach, beet greens, chard, mustard, Calalloo…
Cleaning the Greens
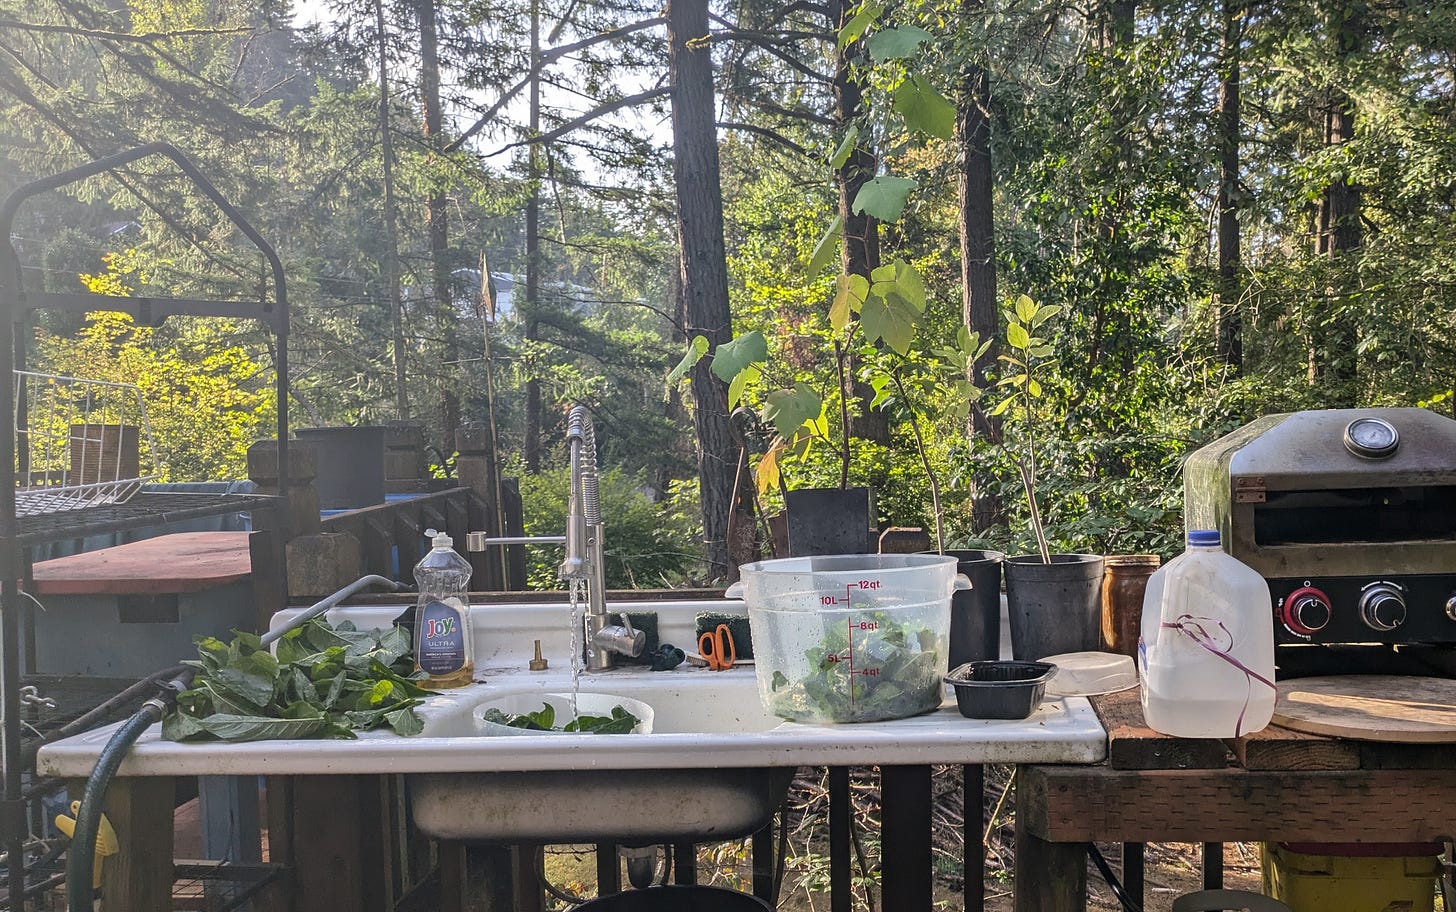
This is something I prefer to do outdoors, when it is not too cold outside to do this work.
I have an outdoor sink that we picked up for free. The sink is located on a hillside, and the water simply drains down and soaks into the ground.
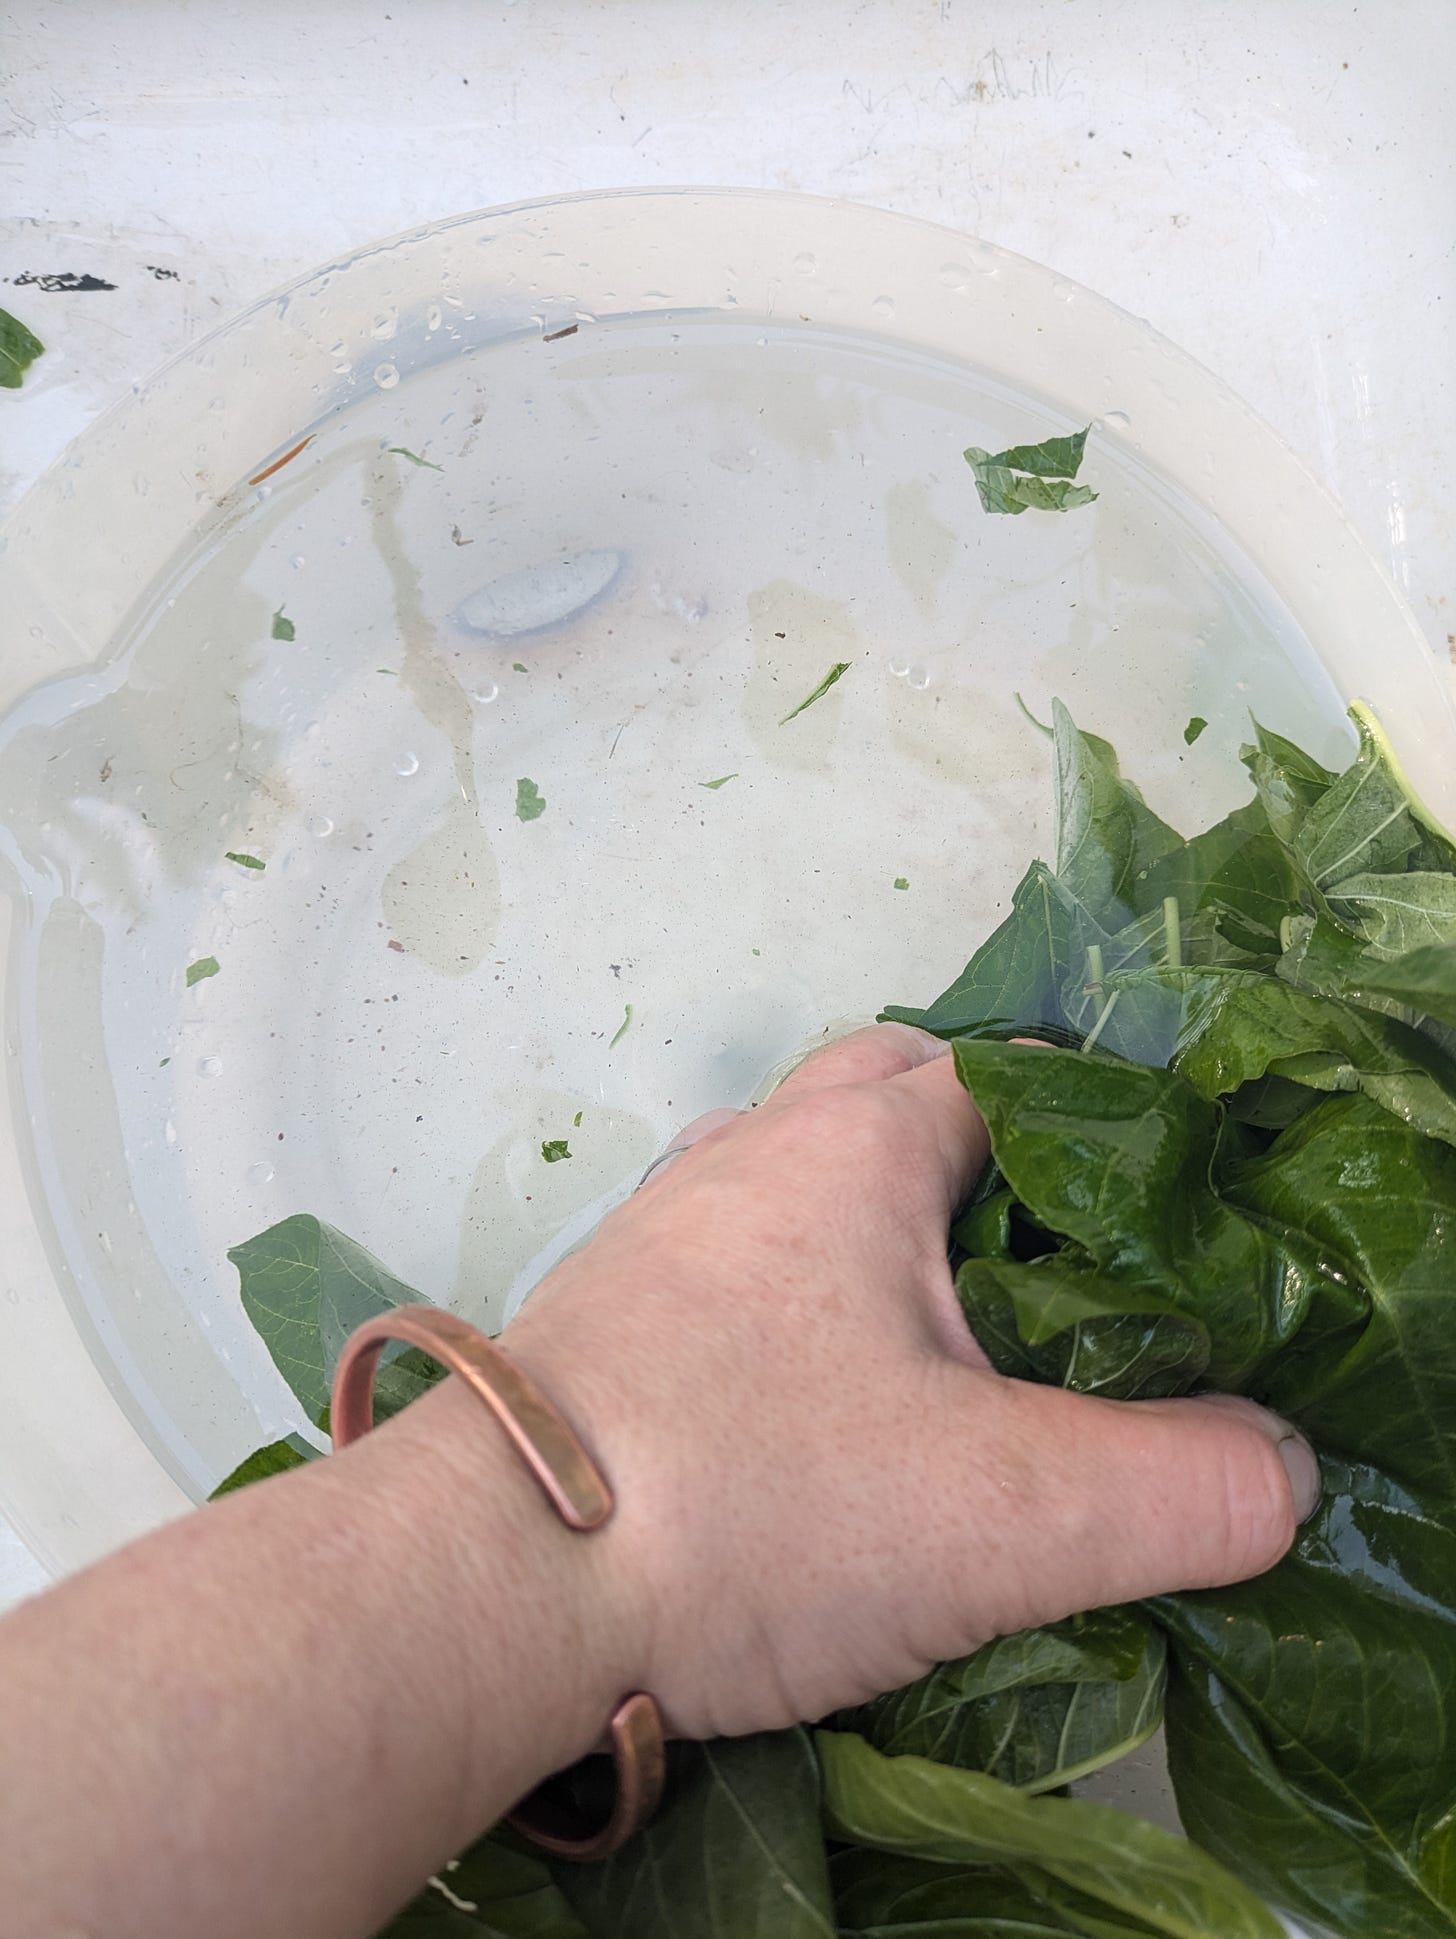
I like to use the swish/plunge method of cleaning instead of a colander, as I find that the greens being agitated in a big bowl of water actually dislodges more debris (especially critters).
Work in batches. Fill a large bowl full of water, and put in an amount that you can easily swish and plunge the greens around.

Then gather all the greens to one side of the bowl and hold them down, while dumping out the dirty water.
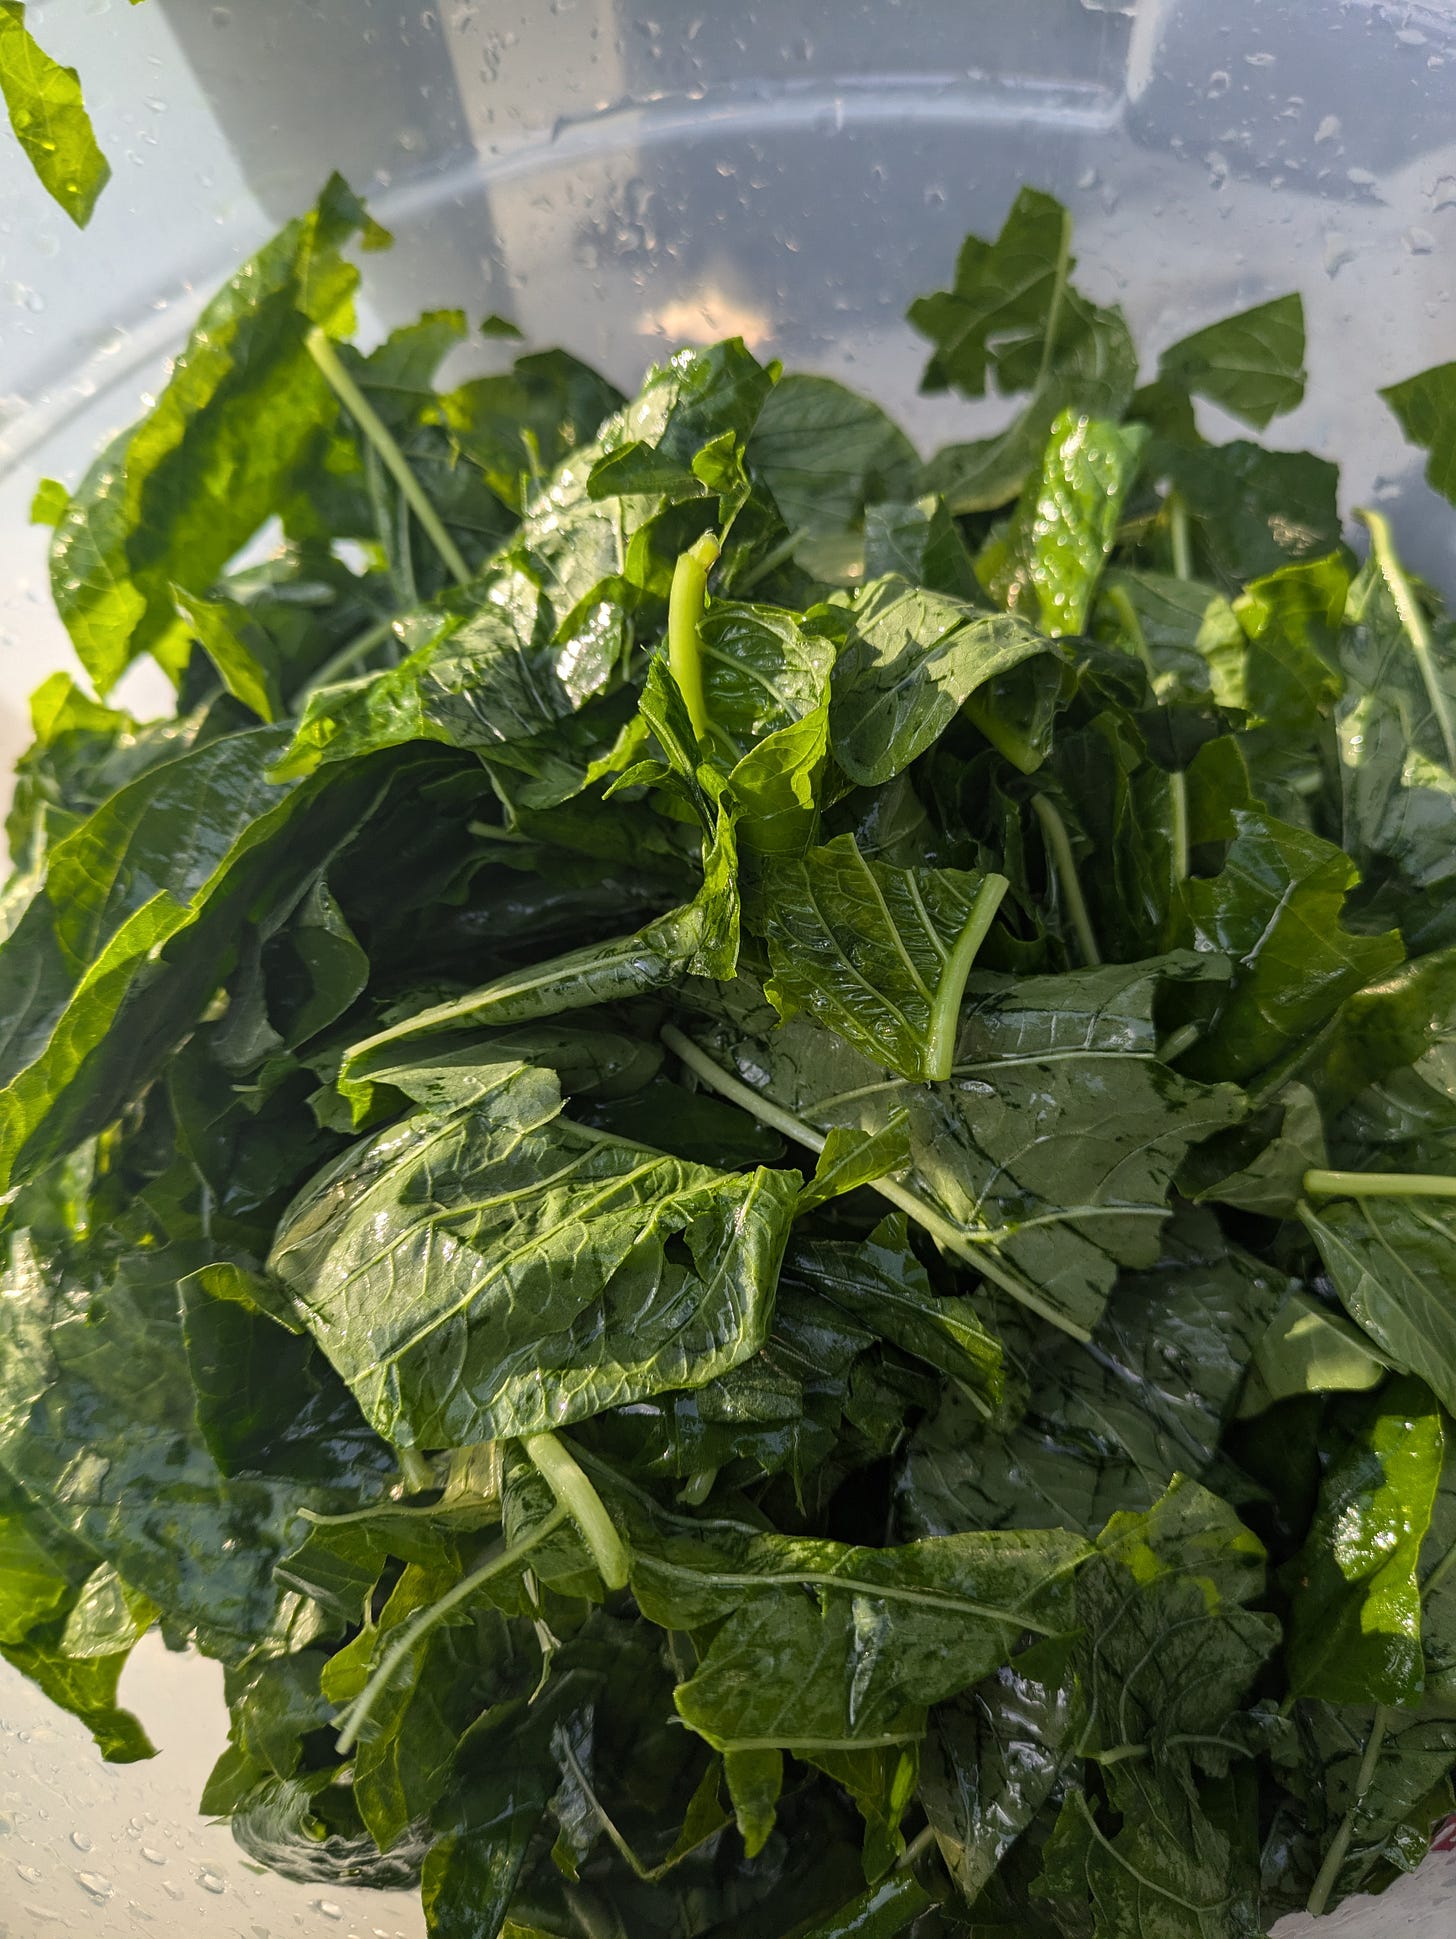
Do a few rinses, until the greens are clean. Dump the cleaned greens into another large, clean bowl. While your cleaning bowl is filling up for the next batch of greens to swish around, you can use your hands to break the greens down into smaller bits.
No need to dry the greens, the water clinging to the leaves will help the greens cook.
Cooking the Greens
Traditional method of freezing greens like spinach and kale will have you blanching the greens and plunging them in an ice bath prior to freezing. This is because there are enzymes in the leaves that need to be deactivated, so that the greens do not break down quickly when in storage.
The problem with that method is that there is a ton of nutrition loss in blanching, which you can see in the green water left over after boiling. Sauteing greens retains most of the nutrition loss.
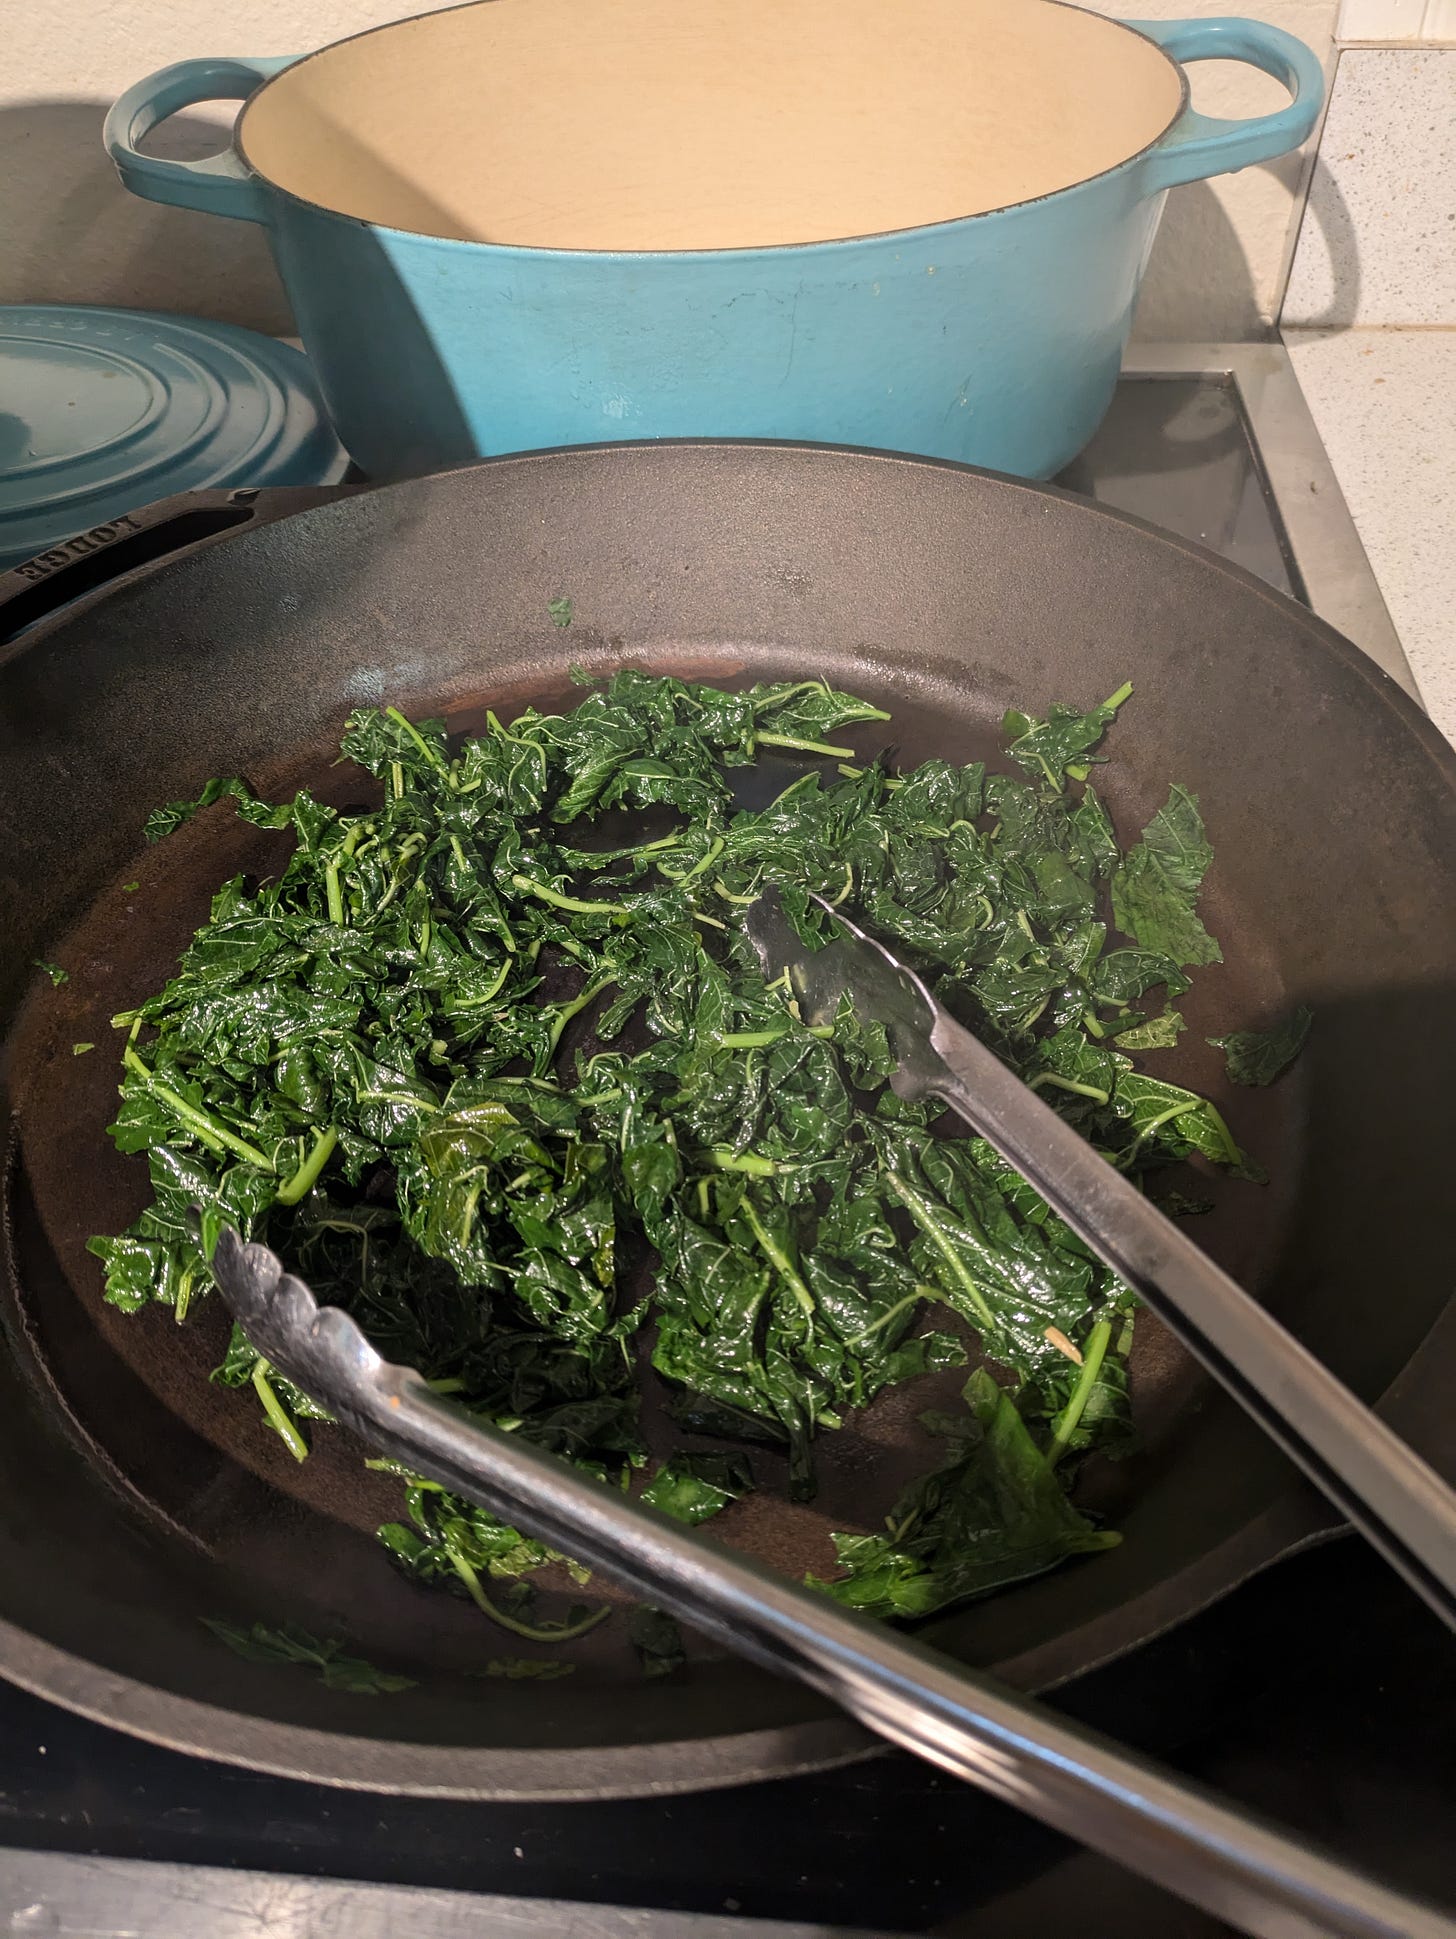
I like to use a large, wide saute pan. Heat it up to medium. Add a little oil to keep the greens from sticking to the pan excessively.
You can load the pan up fairly high with the wet greens, as they will wilt and shrink as they cook. But, don’t overload the pan. If you put too many greens in there, the greens will burn at the bottom.
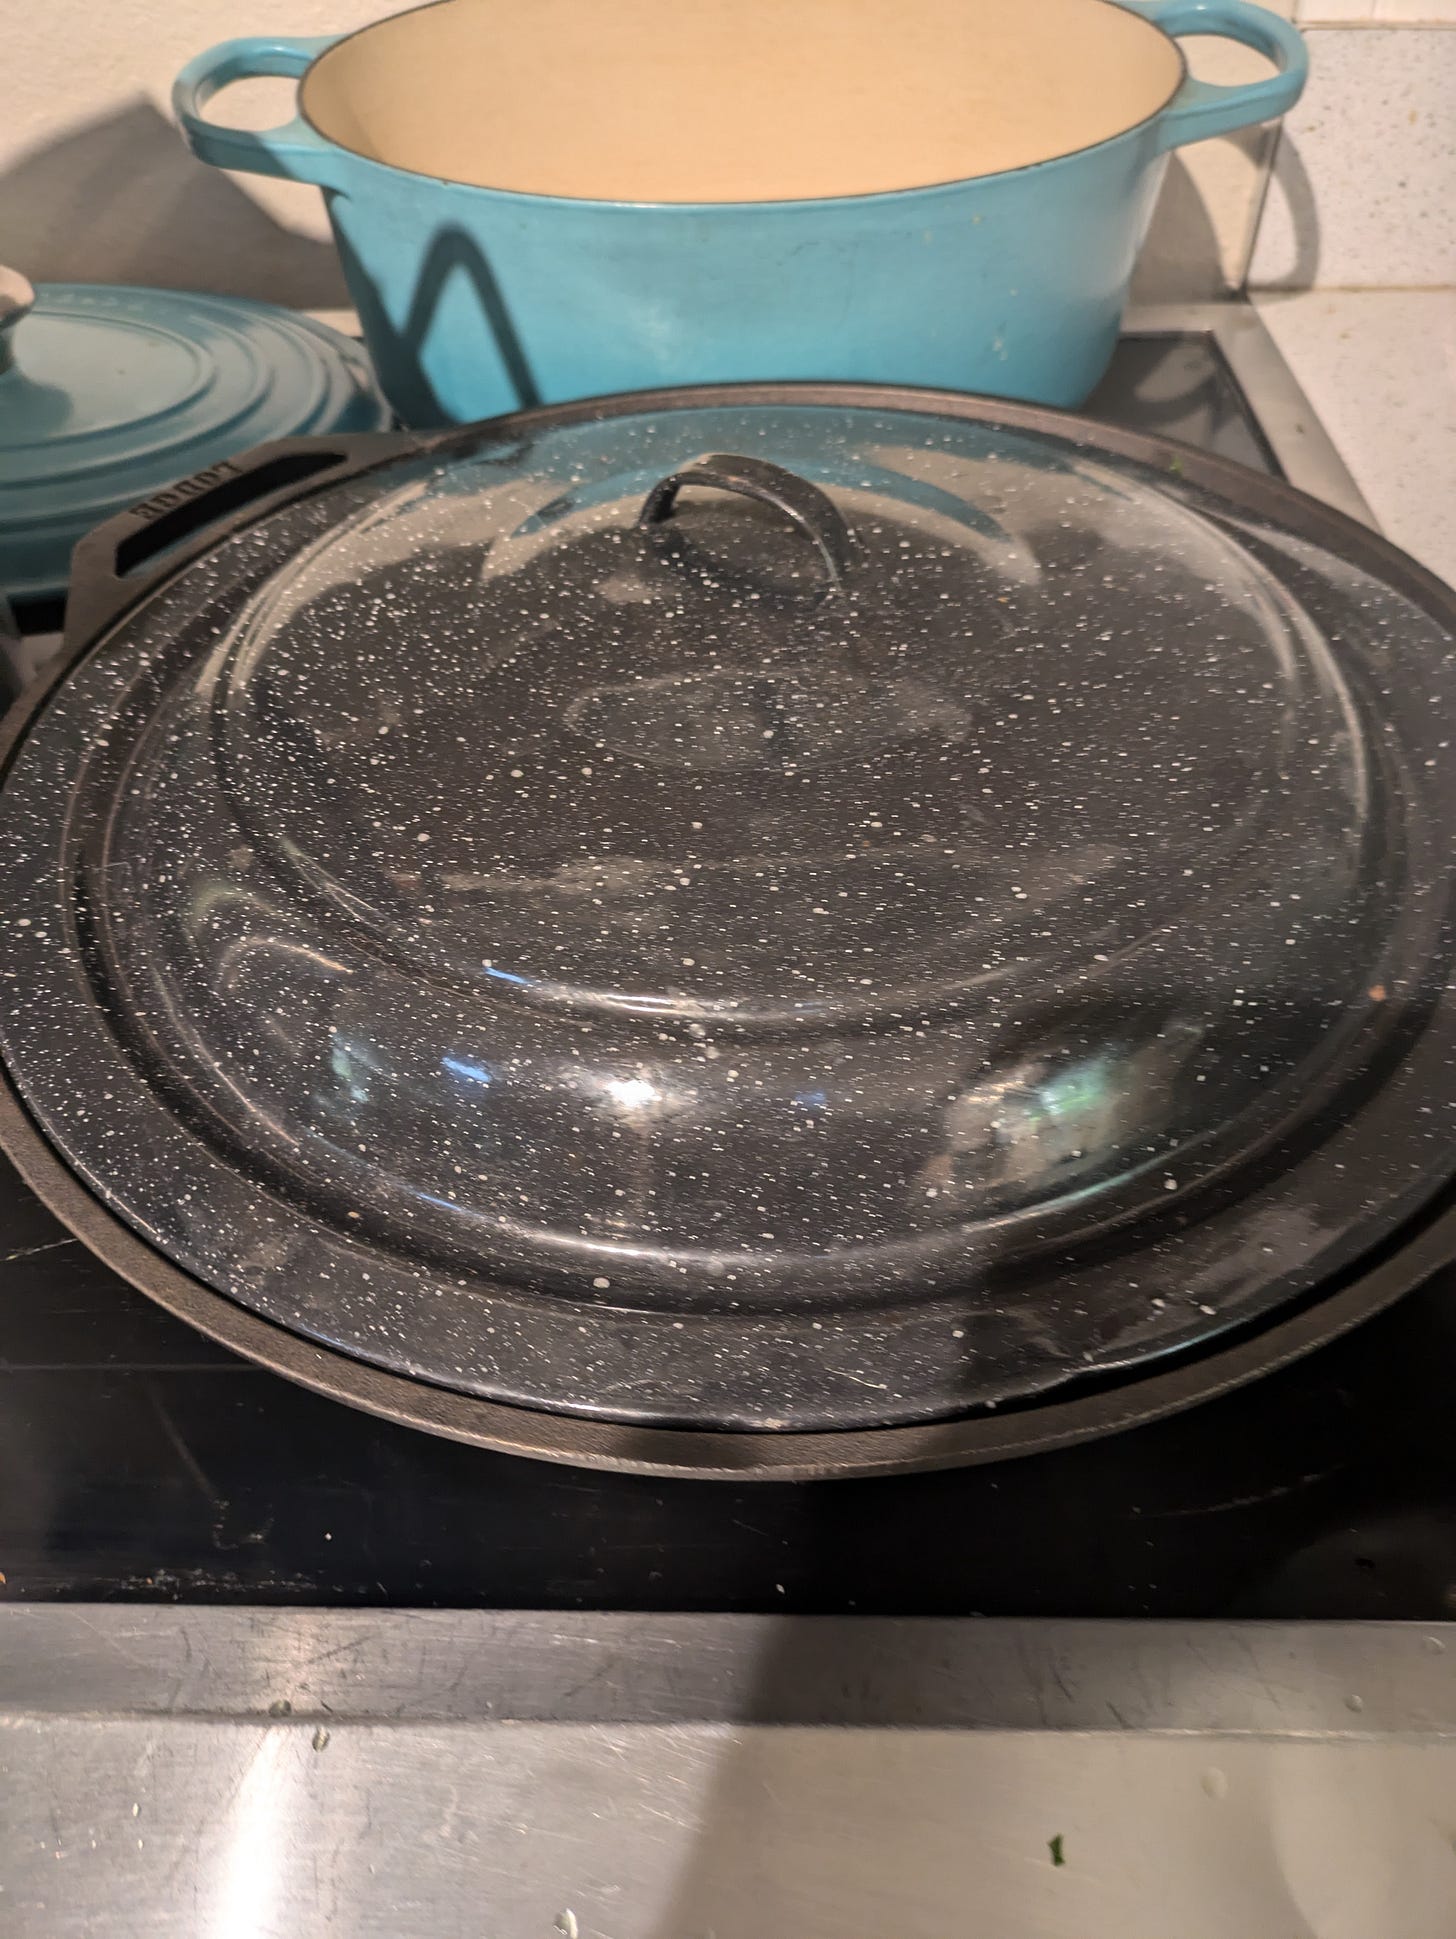
At this point I like to add a cover to the pan, to capture the steam and make the greens cook more evenly. Kale and other tough greens particularly benefit from the temporary cover over the pan. They cook more thoroughly.
Toss the greens around once they start heating up. Easiest to do this with a pair of cheap, restaurant-quality tongs which you can find at restaurant supply stores. Grocery store tongs are pretty flimsy but will certainly work.
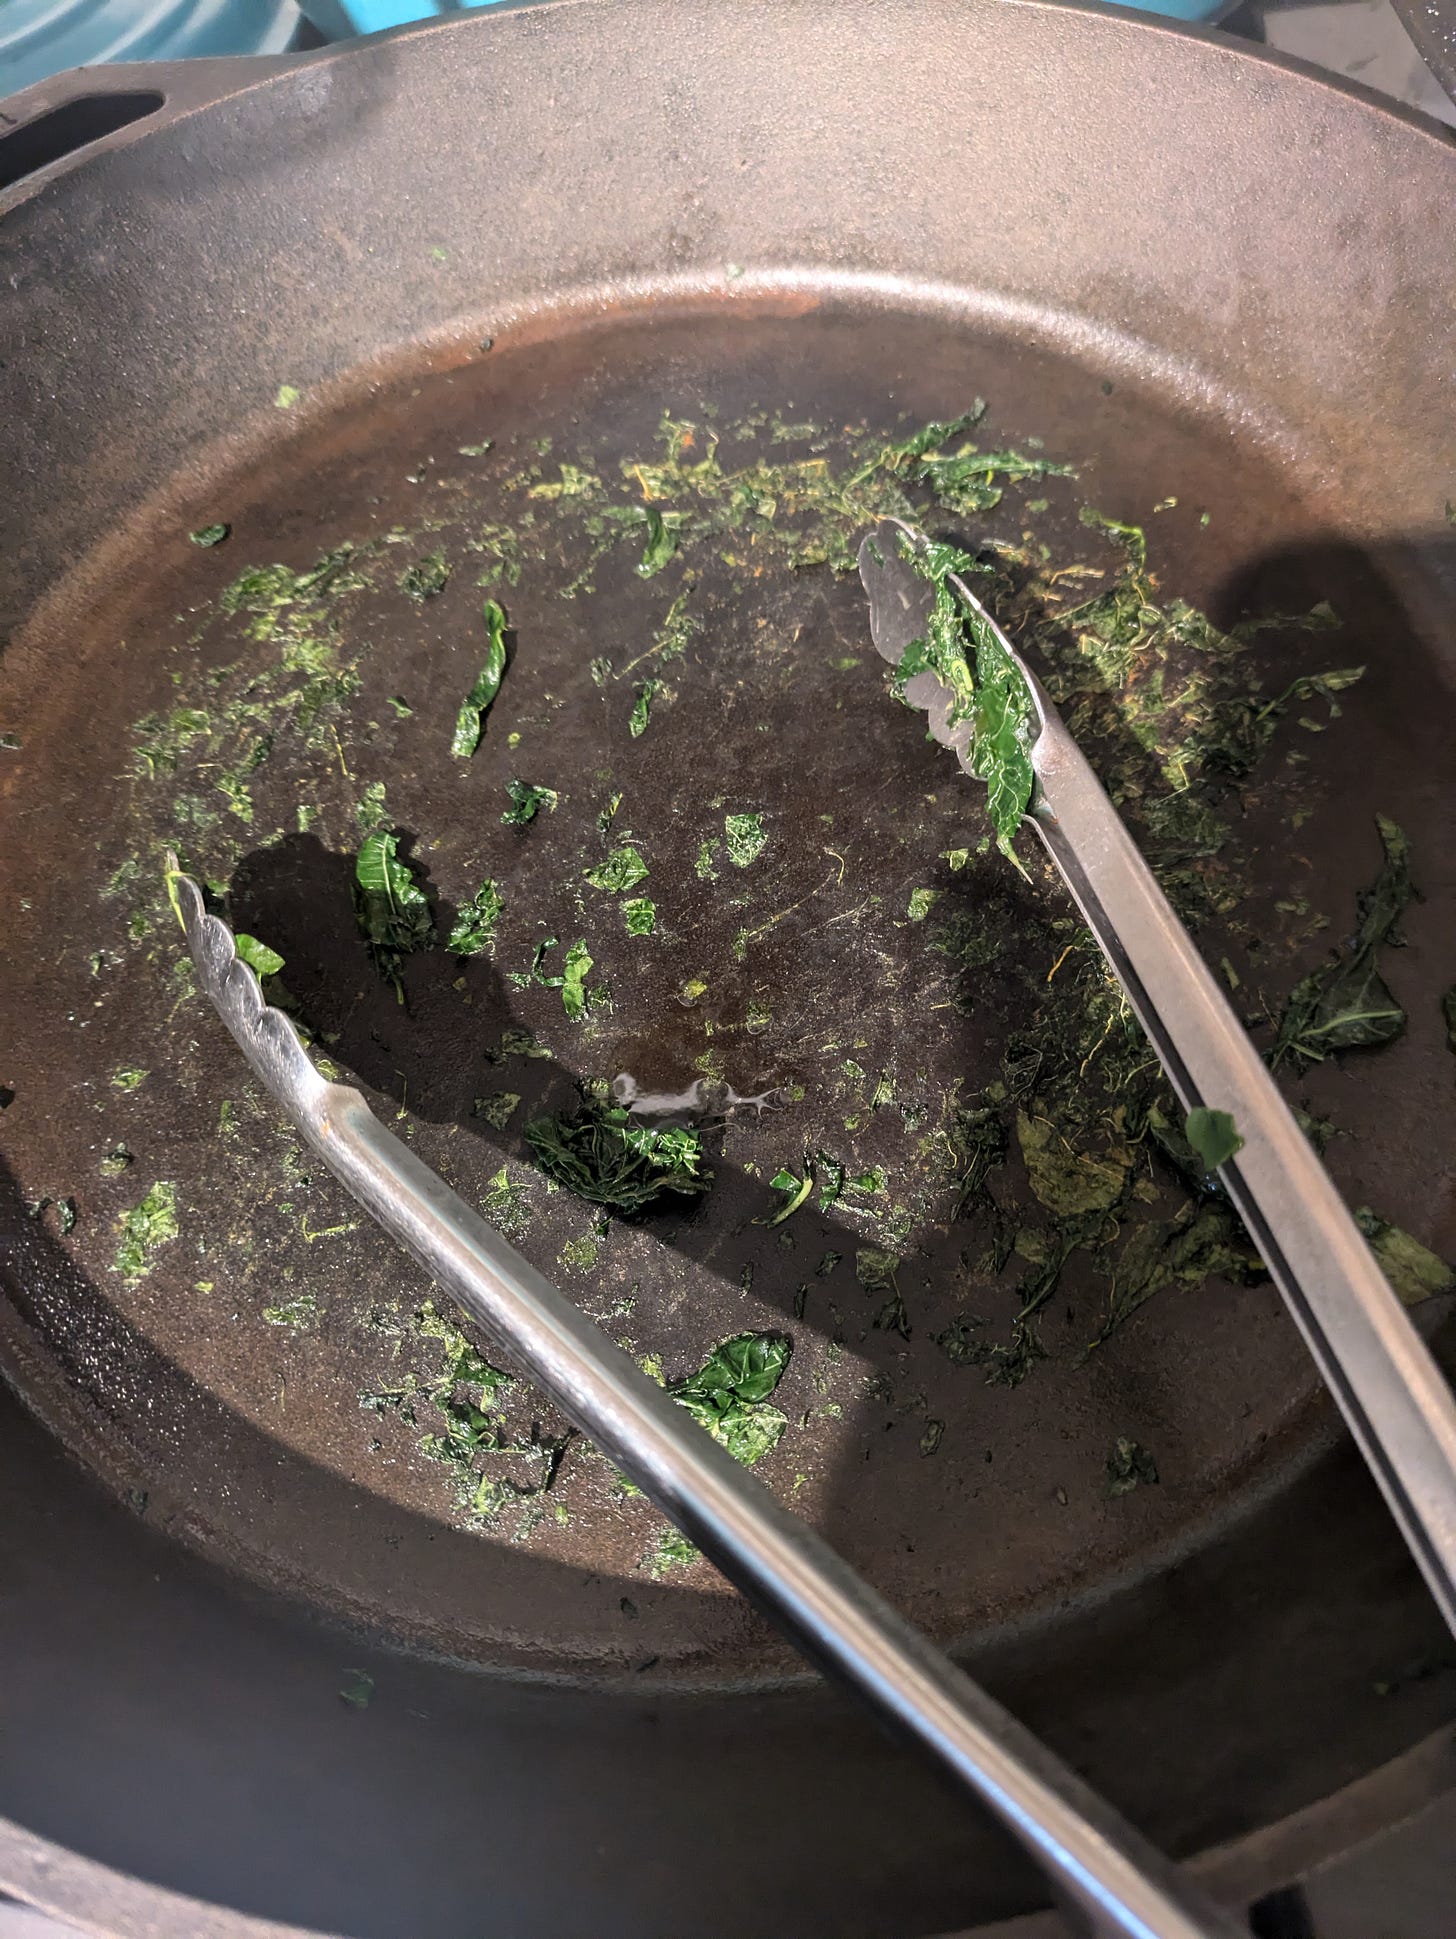
Once the greens have fully wilted, it’s time to evaporate out the excess water. Remove the pan and let the steam escape. Once there is no water sitting in the bottom of the pan and the greens have dried a bit, it is time to transfer the greens to a small bowl to cool a bit before packing them.
If you’ve got dried bits stuck to the bottom of the pan, don’t worry about cleaning it prior to your next batch (so long as they aren’t burnt). The water from the wet leaves will release them and they’ll integrate into your next batch.
For ease of clean up once you’re finished, simply put a cup of water into the hot pan to get the greens to dislodge in lieu of scrubbing them off. Be careful though, as the water will steam and you could get burnt.
Freezing the Greens
I inherited a couple of those vacuum sealers from my grandfather when he passed. Sadly I found them to be super frustrating to use, as they rarely work correctly. They also use way more plastic than needed, and the plastic is not reusable.
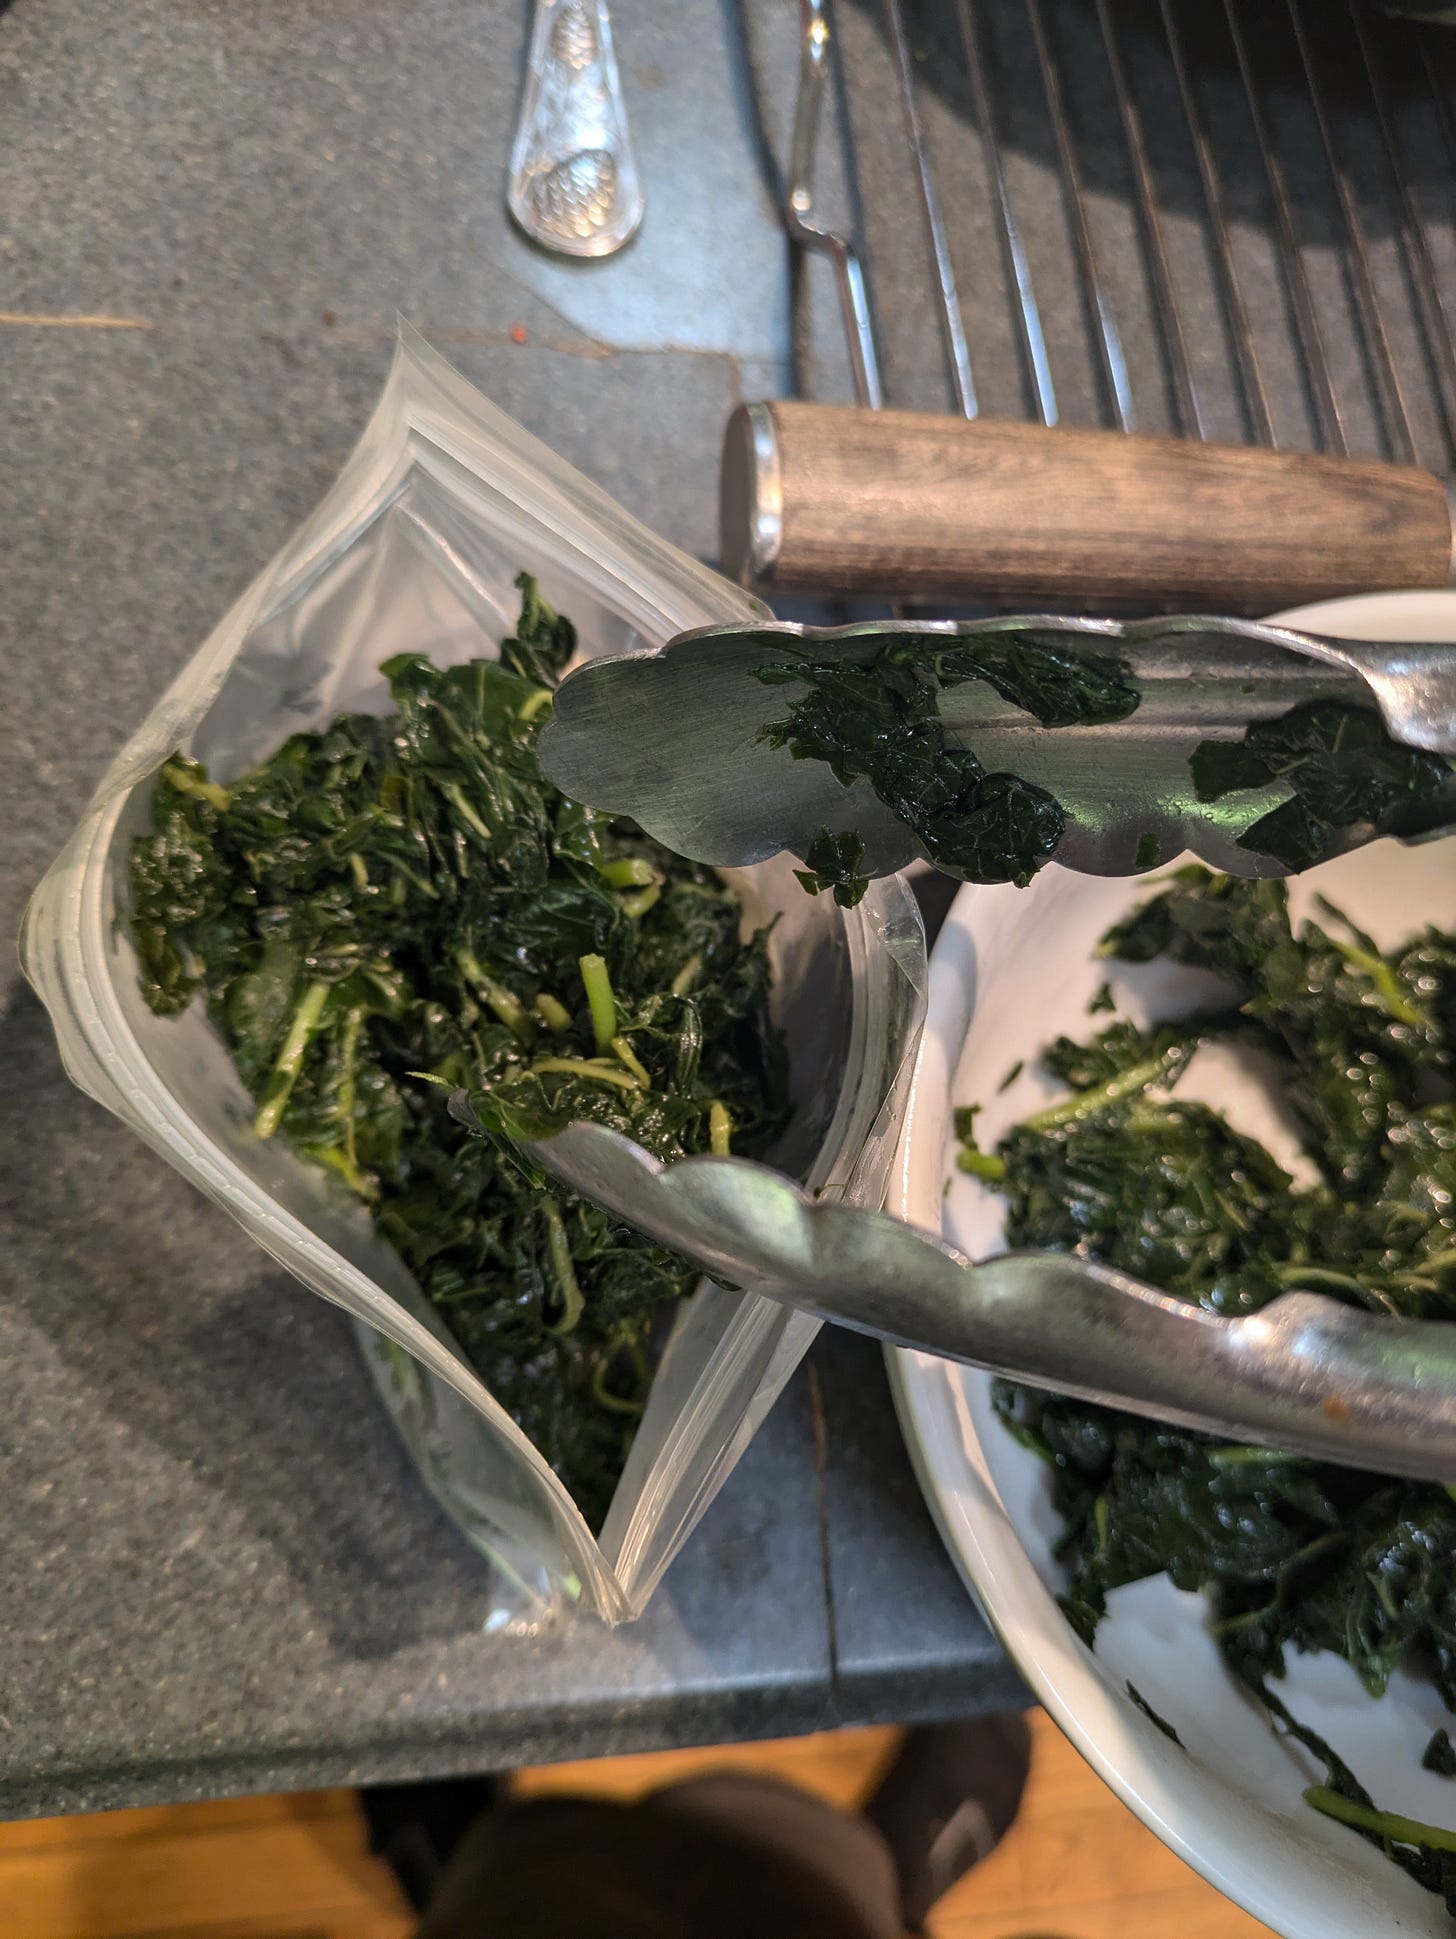
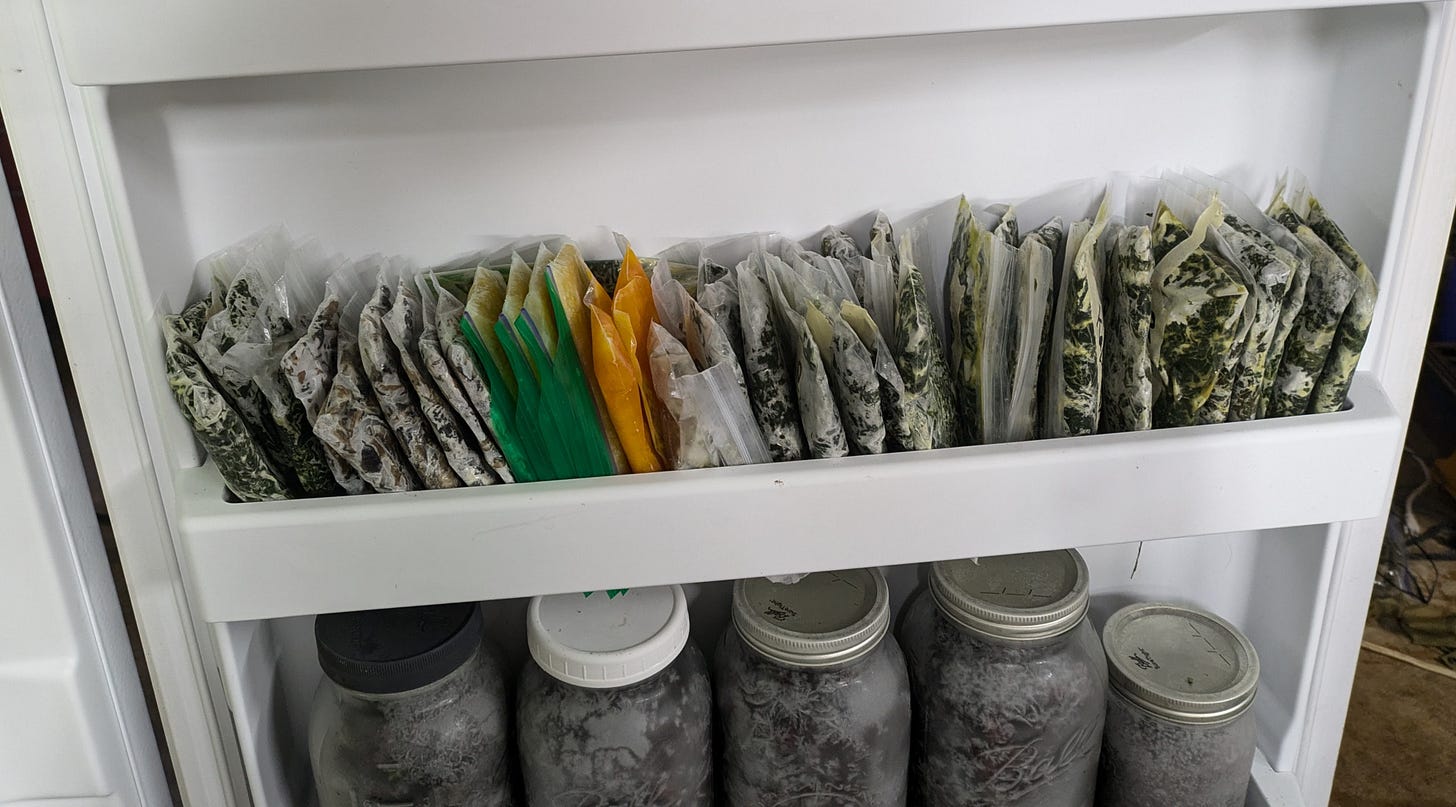
You can use any freezer-safe container you like. I personally like those cheap little snack-size baggies. I do normally avoid using plastic. But I find the way that these pack the food down saves tremendous freezer space, and I can always wash and reuse them.
You can get a surprising amount of greens into those tiny bags. Once you’ve gotten it full, close the bag but do leave a couple of spots open on the ends. You’ll want to squeeze out all the excess air through those holes, then close it up.
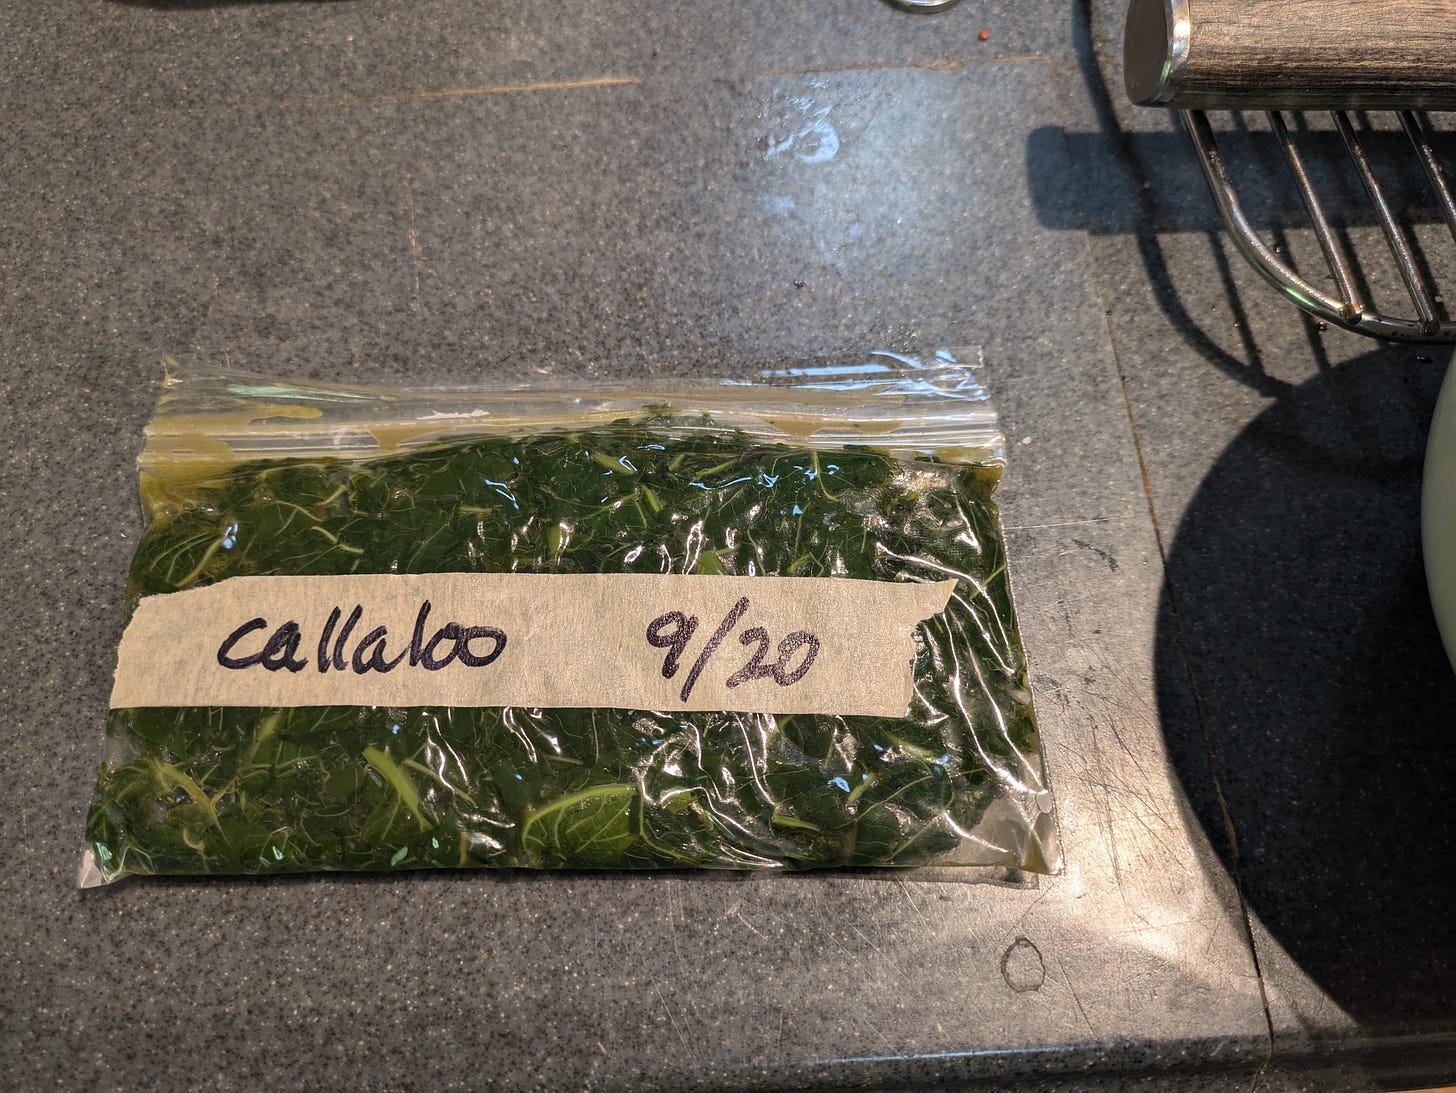
Then put the full bag down on the counter, and flatten them out into an even shape. Label and date.
Stack the greens, and find a flat, level spot in your freezer to freeze them into little bricks.

Favorite ways to use:
-Rick Bayless’s Red Chile Greens and Beans Tacos (SO good)
-Minestrone or other soups and stews
-Spinach and other less tough greens are particularly good in Indian preparations, such as Saag Paneer
-Add to a cooked grain (especially pearled barley) with some mushrooms and a good dry grating cheese over the top (I particularly like Toscano from Trader Joe’s)
Donations: the information that is provided here is free for gardeners of all financial means. If you’d like to financially support this site, you can make a one-time donation or monthly subscriptions on this link. All proceeds will fund more garden projects to share here with you, dear readers, thank you! And thank you SO much to the folks that have supported me. Your contributions mean so much.


